I have a few peaceful days out of work now, so I decided to soak my whetstones and do some blade maintenance on a few pieces of tools I have.
If you prefer to watch a video instead, just click the link below and watch this on YouTube.
CLICK HERE FOR YouTube VIDEO
This will all be freehand sharpening and I will be using 4 progressively smoother grits of sharpening whetstones. The first one is 220 and 1000 grit on each side, and the second is 3000 and 8000 grit respectively.
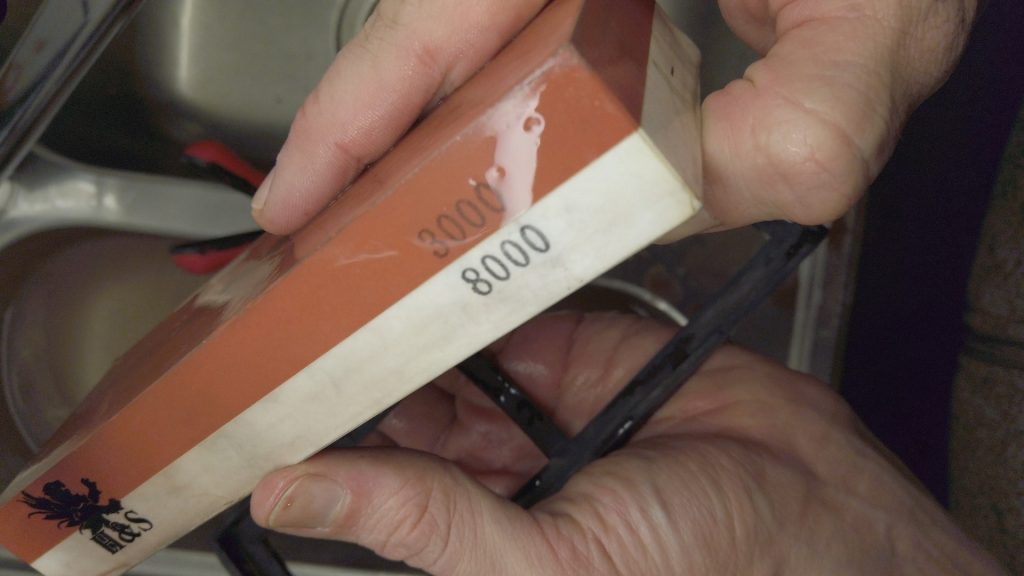
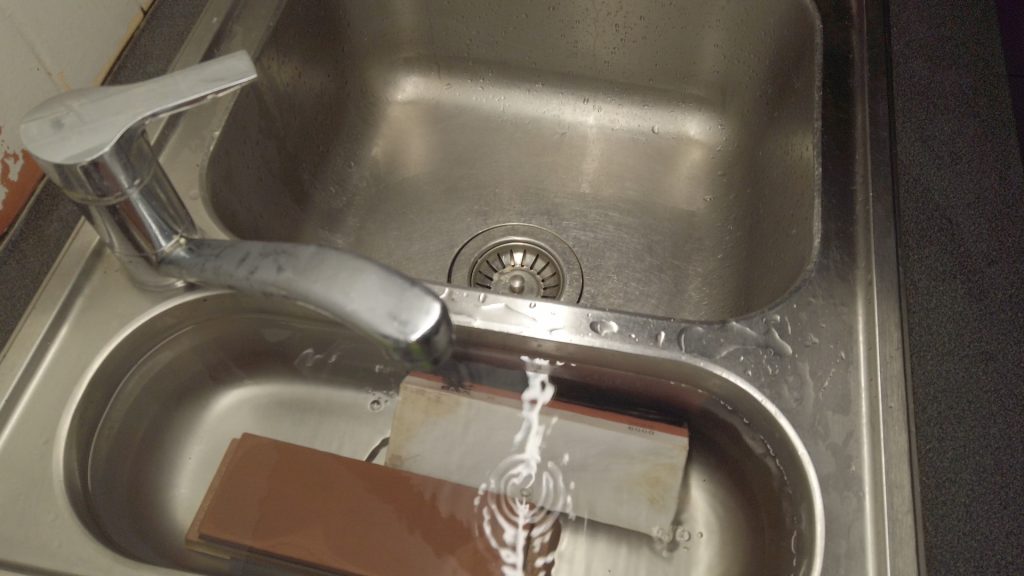
We’re going to soak them well to make sure that the material we remove from the tools are flushed out of the stone surface. A dry stone will get clogged with steel dust which reduces the effectiveness of the abrasive process.
I am sure many of you used some kind of a sand paper or a sanding block to sand a repaired hole in a wall that you fixed with a filler. When you were doing that, it is easy to see how the white dust fills all the small voids in the abrasive material which prevents it from cutting deeper into the wall.
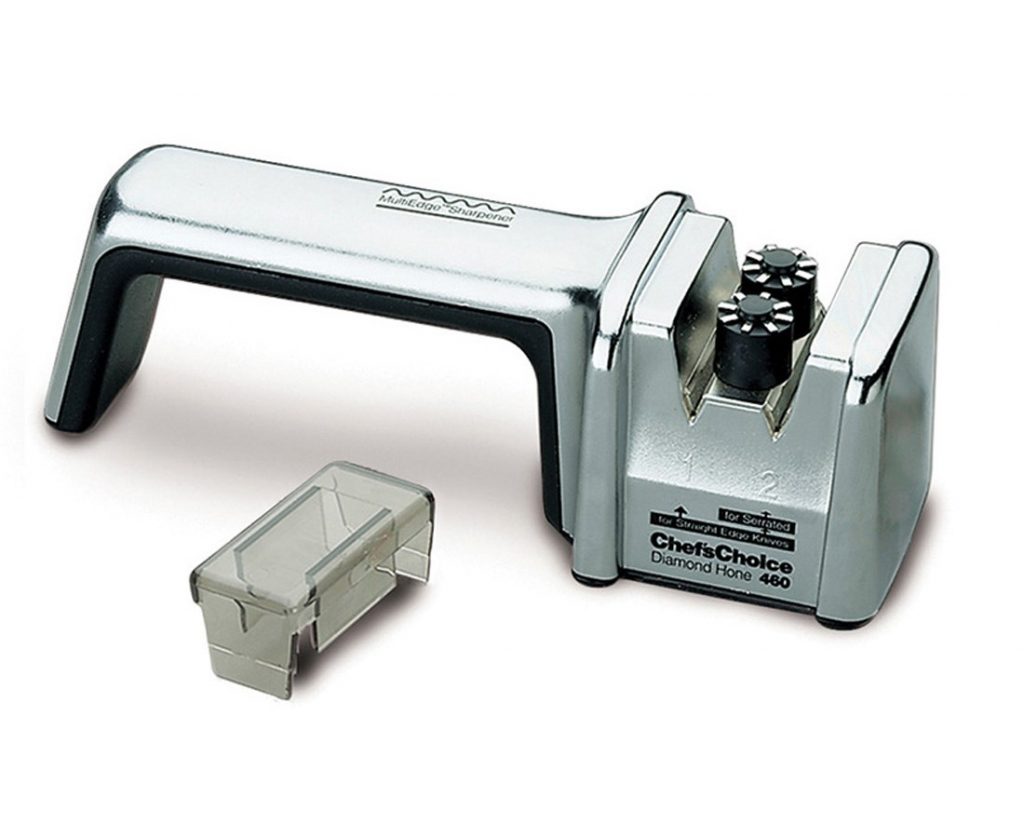
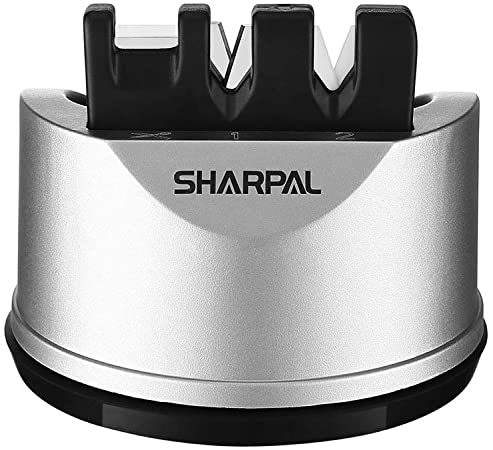
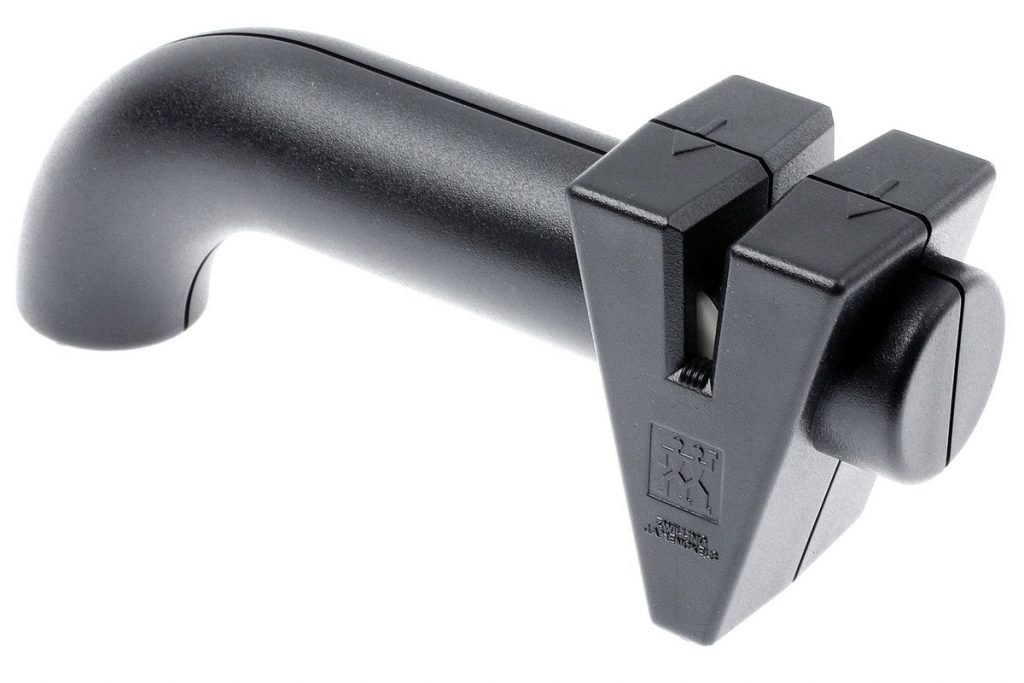
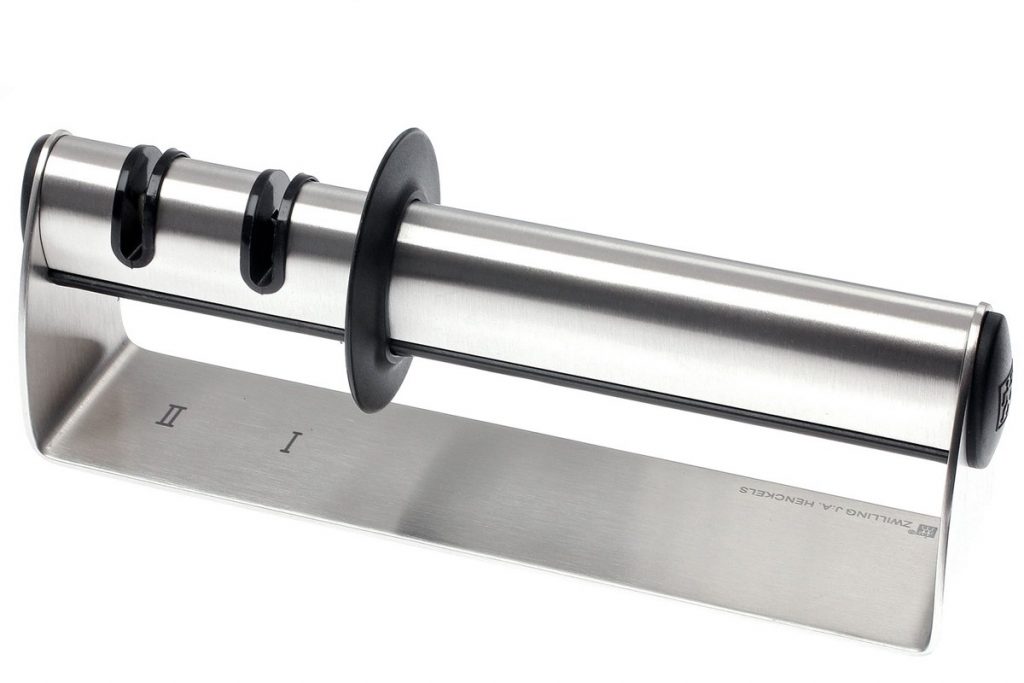
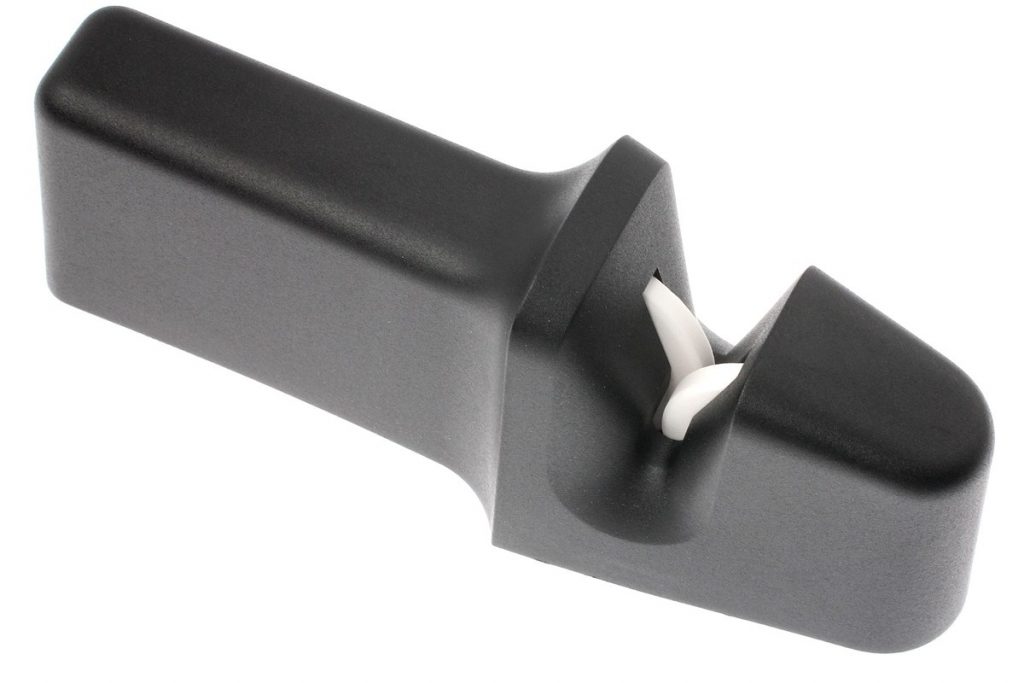
Handheld Sharpeners – Any Good?
While the whetstones are soaking, let’s briefly talk about freehand sharpening and my reasons to learn this method as opposed to easier methods most people would go for. There are different ways to sharpen your knifes and other household tools, all with their advantages and disadvantages.
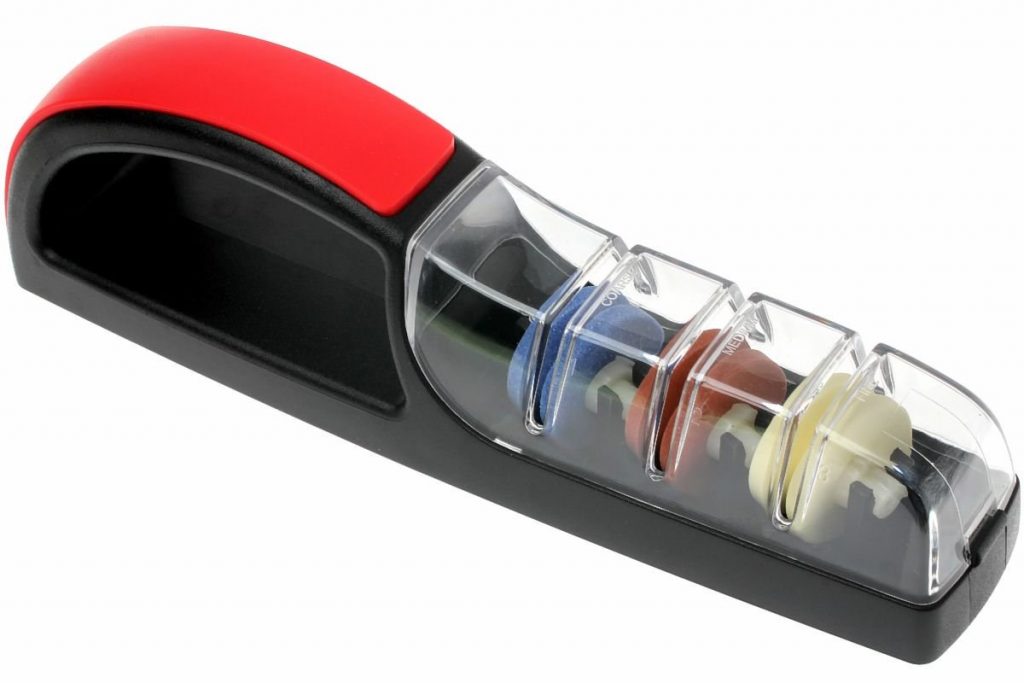
Some people prefer simple handheld sharpening devices, electric or manual. They produce a sharp knife very quickly and without having to learn any advanced techniques. They require very little practice to produce an excellent edge. And they don’t require any guesswork or understanding of what exactly is happening and why.
I have a few issues with these tools. Now please mind that I am generalising and simplifying here and I am sure there are sharpening devices out there that can do a good job.
But generally speaking, here is the list of my problems with them:
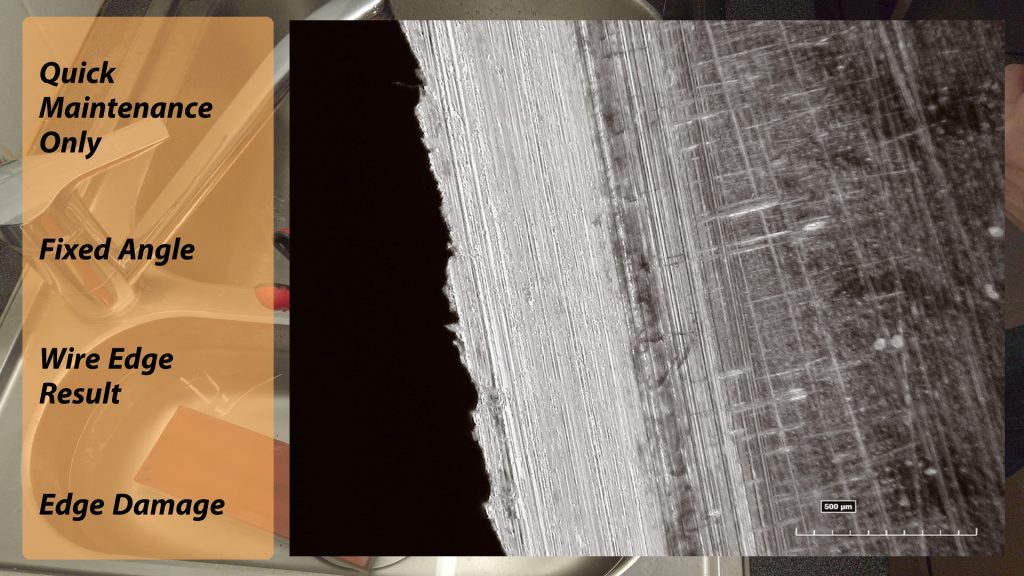
1. Quick Maintenance Only
In many cases, you cannot do exactly what you need to be done to your blade, focus on a specific part of the edge, or play with angles.
You can’t repair a heavily damaged blade or fix the geometry of the grind with these tools.
2. Fixed Angle
If you are a knife guy, or if you have different tools you want to maintain, other than your kitchen knifes, you need more flexibility. Also, these sharpeners tend to be fixed at about 30-45 degrees, which is way too large of an angle. Modern knifes with a micro grain structure are usually ground in a steeper angle, which allows them to cut more aggressively.
3. Edge Blunts Quick
Sharpeners like these work by shaving a bit of metal from both sides of an edge. It works on low hardness knives, but you risk chipping high hardness knives which don’t take kindly to having hard things try to lift a burr on them. Basically, you create a straight burr (or so-called wire edge) that feels really sharp, but a burr folds easily, or chips away and the sharpness is quickly lost.
4. Guaranteed Blade Damage
On top of that, these tools also damage a good edge with every pass, as they are scraping away a lot of metal, as opposed to grinding it. As a result, you end up cutting your tomatoes with a very sharp temporary burr, which folds on itself as soon as you scrape it on your cutting board.
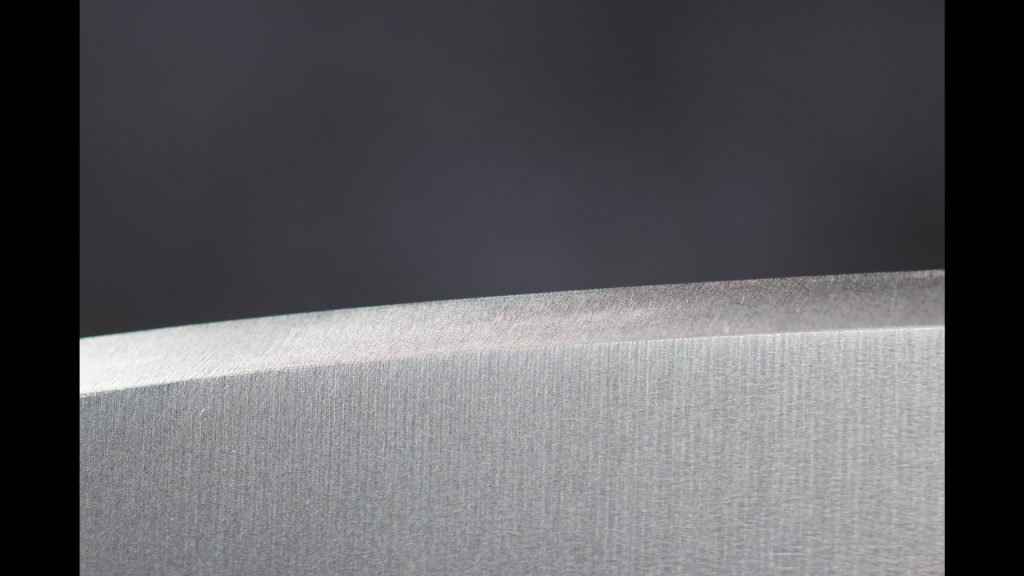
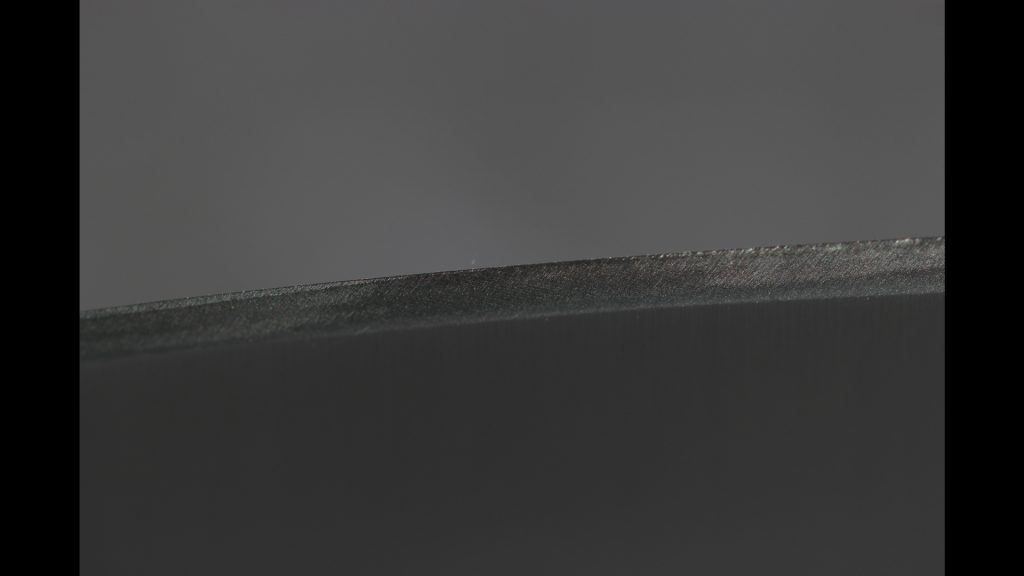
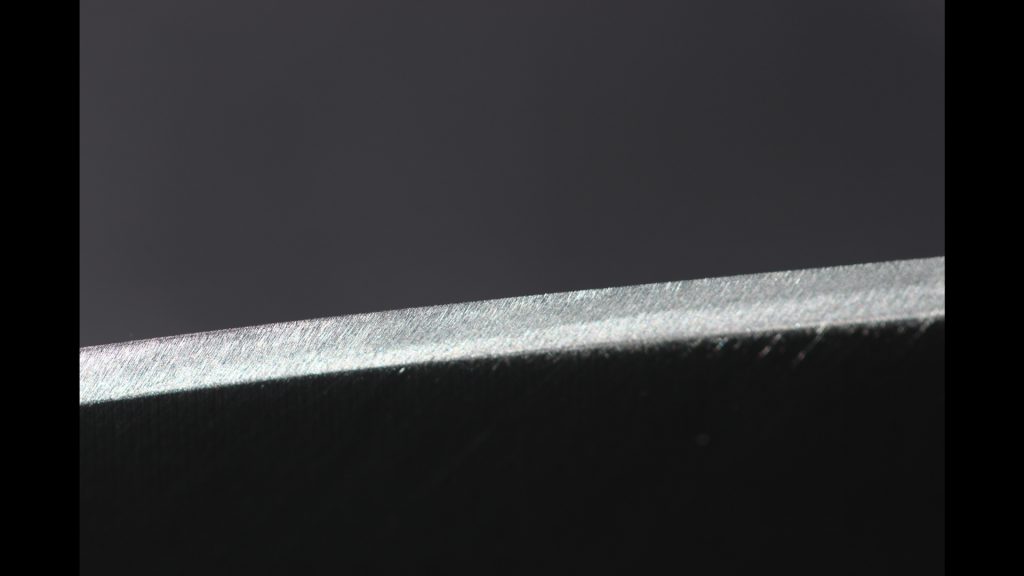
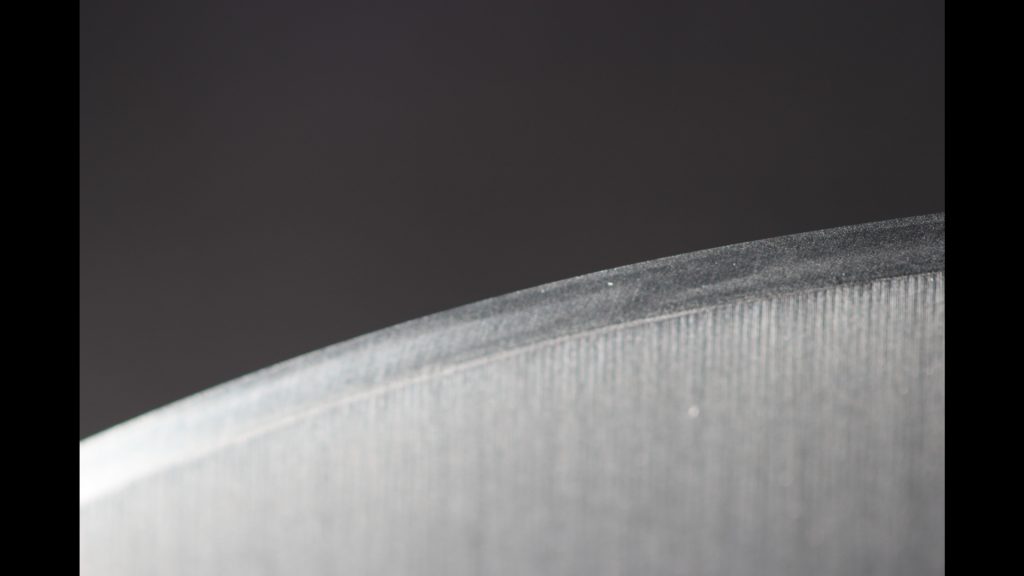
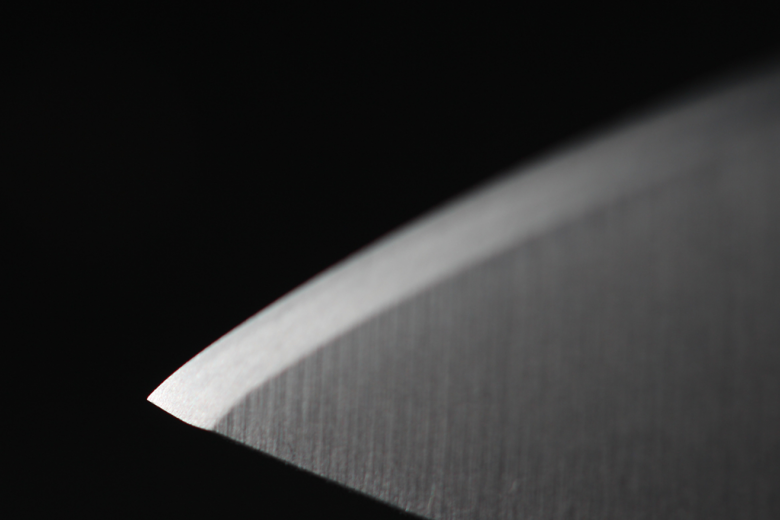
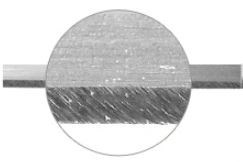
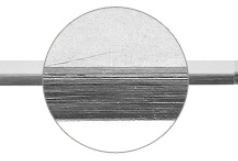
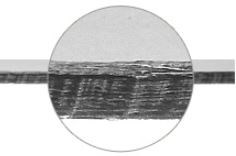
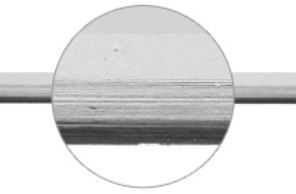
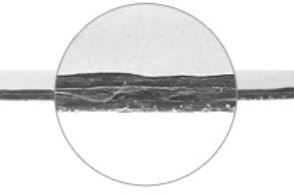
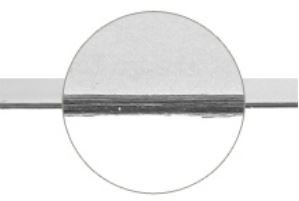
Here are some closeup photos of the resulting knife edges using different kinds of handheld sharpeners.
I pulled these from knivesandtools.com and here is a link to a great article on their website on this subject:
https://www.knivesandtools.com/en/ct/pull-through-knife-sharpeners-test.htm
After I am finished with my knife, we’ll be able to compare it with these images.
So, needless to say that freehand sharpening was the best way for me to go about sharpening my knifes and tools. It is a peaceful mechanical process, it allows me to put my mind to a calm state and focus on the hands for a while. When mastered, freehand sharpening is a versatile tool in your toolbox, which is applicable to many tools around the house or the workshop. From knifes with different grinds, to chisels, planes, scissors, and anything else with a cutting edge, really.
It is just a nice activity to be good at, and the fact that it takes longer to sharpen a knife properly this way, it is far outbalanced by the result itself and the fact that there is yet another thing you can do well.
Here is my new knife I got for Christmas in 2020.

It is from a “Moletta” range from an Italian manufacturer lionSTEEL.
The blade material is Sleipner steel, a high-alloyed stainless tool steel.
It is a hard knife steel with a high abrasive wear resistance, adhesive wear resistance and chipping and cracking resistance. And since we’re about to be wearing the steel off quite rapidly during the sharpening process, it is harder to sharpen, too.
We’ll need to take our time with this one.
But first of all, let’s have a look at the state of the factory blade the way it came in.
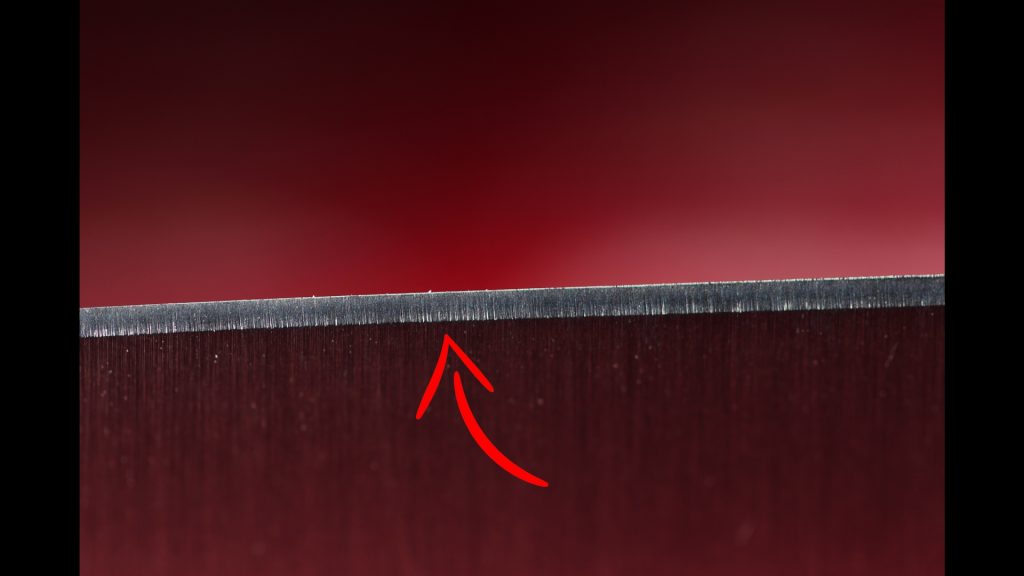
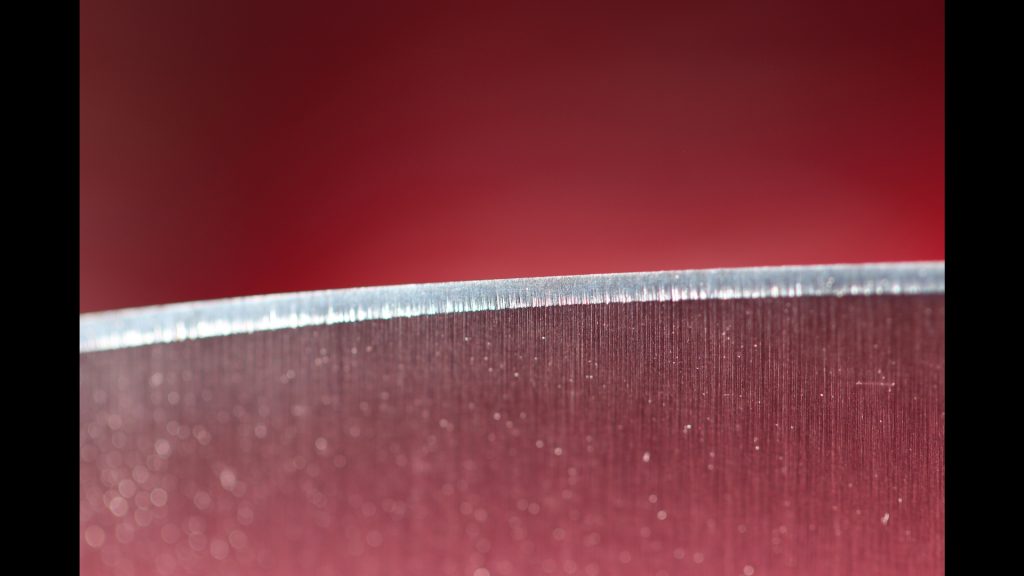
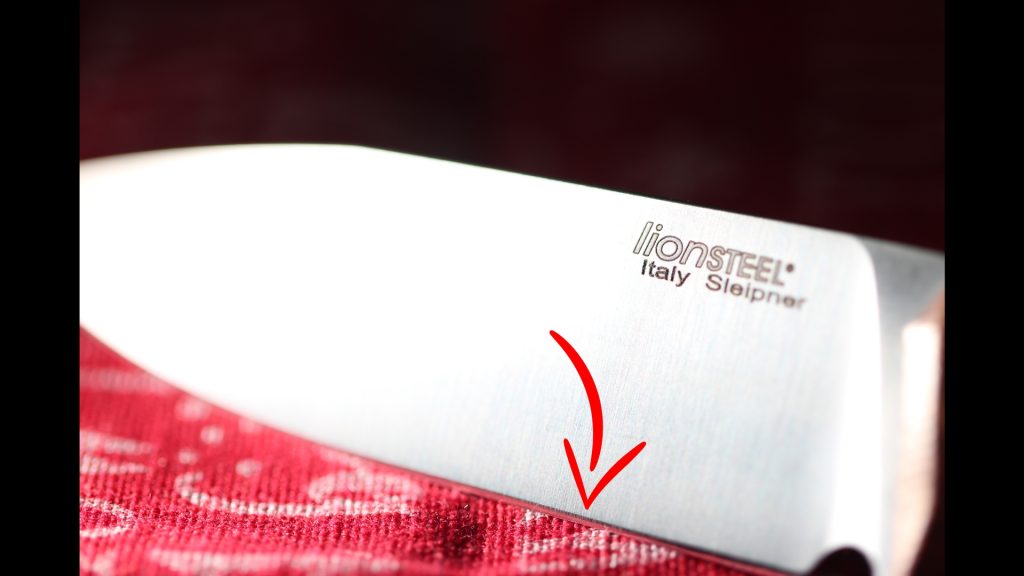
It is a little disappointing to see marks of machining not only on the side of the blade, but protruding into the cutting bevel as well.
The knife is sharp enough but it doesn’t hold a candle to a professionally sharpened edge.
Let’s go ahead and try to fix that.
I am going to skip the 220 grit stone since the geometry of the primary bevel will be perfect from the factory and we’re only be touching up the very surface of it. 220 grit is way too course and it should only be used when there is a lot of material to be removed from a chipped or otherwise damaged blade. So here’s the 1000 grit.
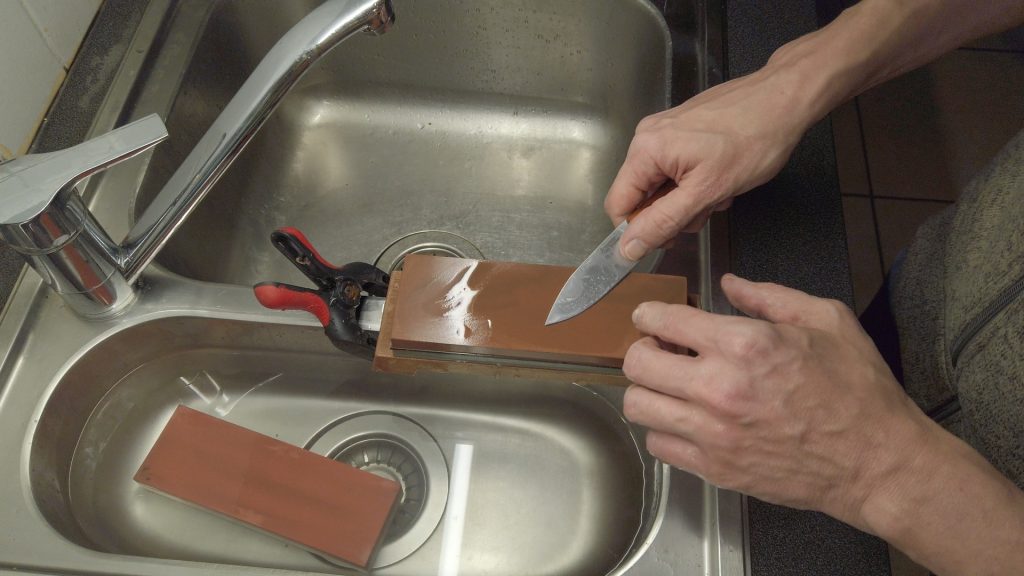
First of all, we need to find the correct angle to hold the knife in, so the whole area of the primary edge is being worked on. This requires a bit of experience to find the correct angle, which is typically between 17 and 25 degrees. Some people use black sharpies on the edge to keep track of what parts of the edge is being removed, and then amend the angle accordingly.
I like to depend on my eyes to see the tip of the edge touching the stone and then checking the edge for wear marks to verify that I am holding the knife at the correct angle.
Now the cutting edge of the knife doesn’t run at a straight line, it angles up towards the tip, so when working on the blade along its full length, you need to adjust the angling to make sure that whatever part of the edge you are working on, always has a good contact with the stone.
There is a lot of “quote and quote” muscle memory involved in this movement and it takes a bit of time to get used to it and maintaining the correct pressure and the correct angle throughout the process. It is quite easy to do more damage than good to you knife, so make sure to practice on a cheaper knife before you feel comfortable with the process and your results.
As I am performing my grinding passes, I am doing edge leading and edge trailing moves. An edge leading move is a move with the edge going first, is if you wanted to cut into the stone. An edge trailing move is a move with the edge being dragged behind. I am applying a good amount of pressure on edge trailing moves, and I ease off the pressure when the edge goes in first.
I also work the knife at a horizontal angle to the stone. This is quite arbitrary, but I like to maintain somewhere around 45 degrees between the knife and the longitudinal axis of the stone.
Hand Sharpening – Basic Rules
There are only a few main rules that you need to adhere to when sharpening free hand.
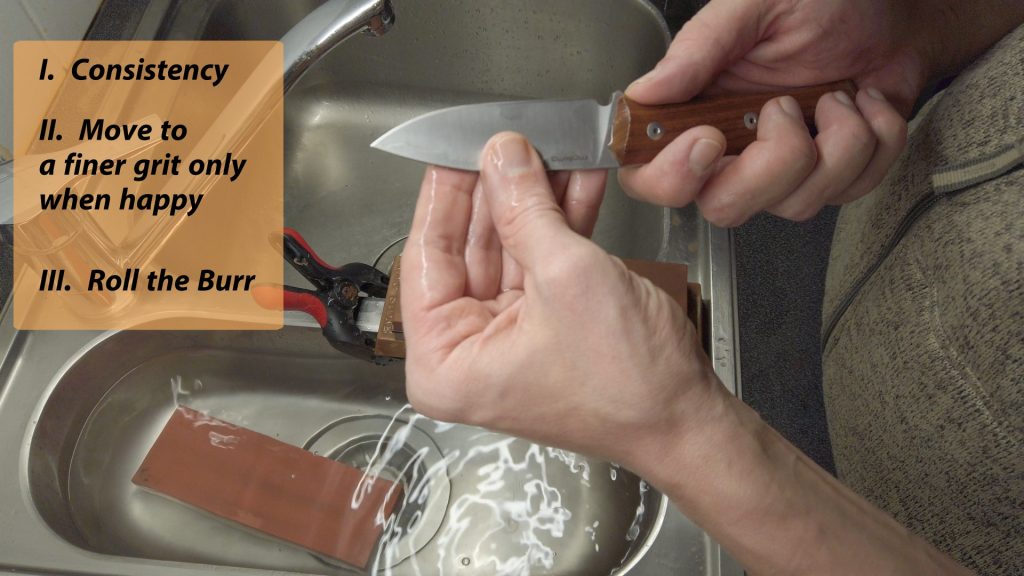
Rule 1 – Consistency
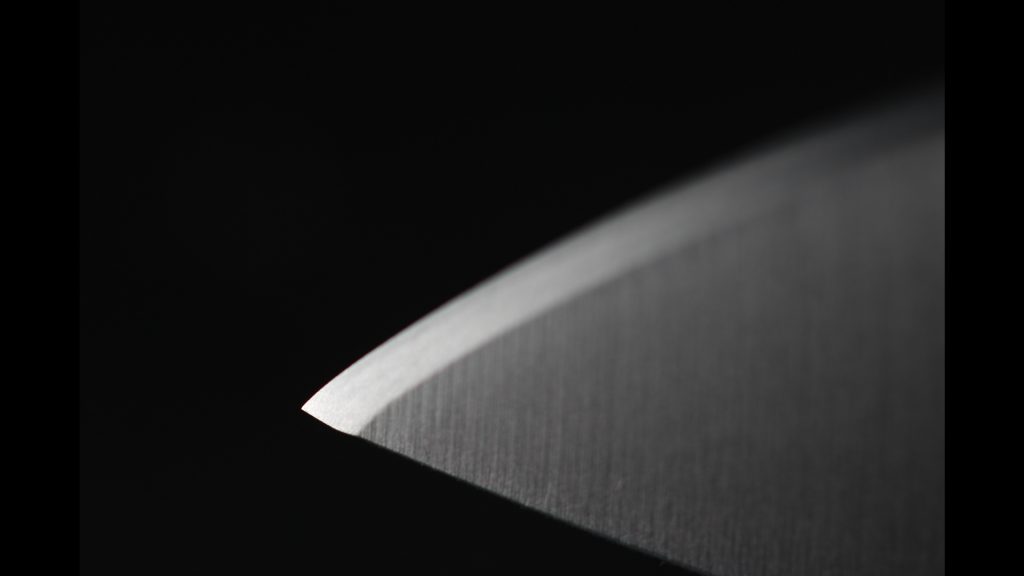
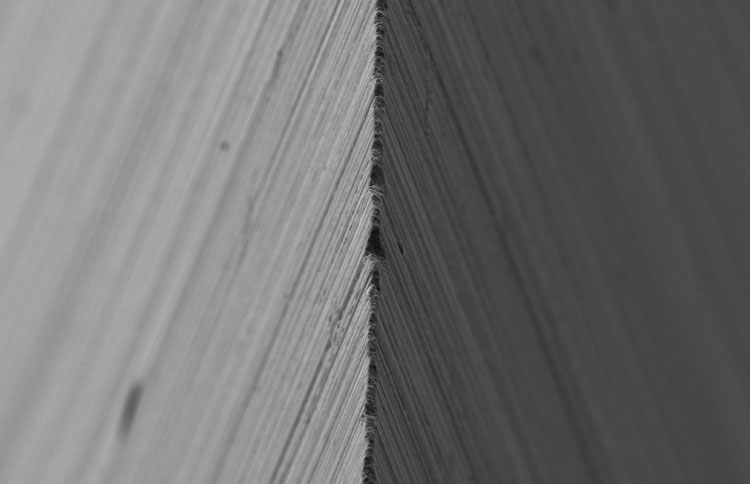
Whatever angle and technique you choose, maintain it throughout the process. If your angles vary, you will end up with a messed up cutting edge. This is what a good edge looks like under a microscope – keep this image in mind when freehand sharpening.
Rule 2 – Stone Switch Timing
Don’t move to the higher grit stone until you are happy that your knife is sharp. If you aren’t happy that your knife is sharp, moving to a finer stone will not change that. It will only make the surface smoother, without actually making the knife sharper.
Rule 3 – Roll the burr
A burr along the full length of the blade is the most reliable indicator that one side of the knife has been sharpened well. Don’t switch to the other side unless you can feel a burr all across the length of the blade.
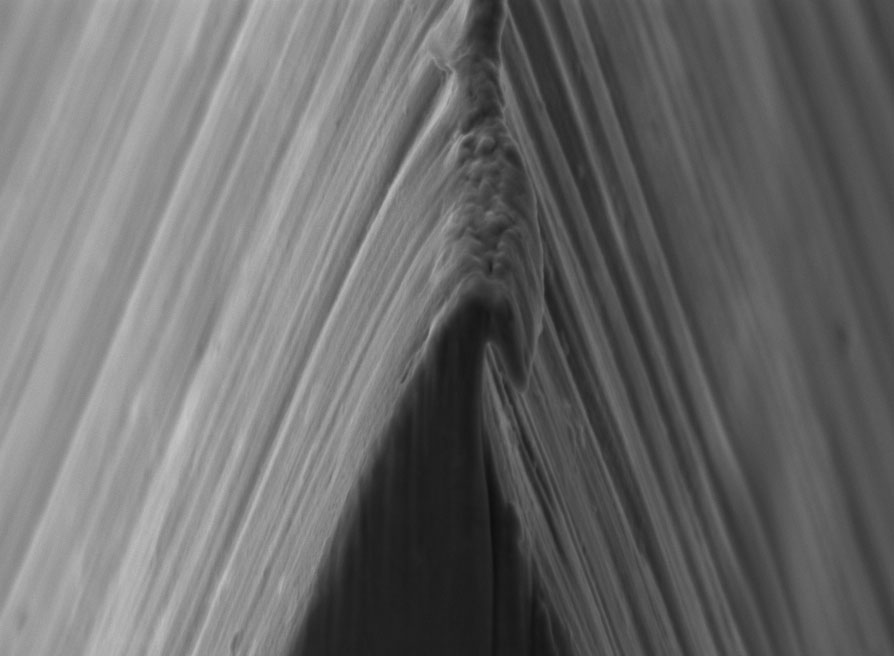
So I am working on just one side of the knife and I’ll continue doing that until I create a detectable burr on the other side of the knife, at which point I will switch to the other side of the knife to knock down the burr and create one on the first side. Then I will alternate between both sides more frequently doing less and less of lighter and lighter passes to roll the burr until it gives up and falls off, and we’ll end up with a burr-free sharp edge.
Once that happens, you can just stop there, dry your knife and start using it. 1000 grit is fine enough for most purposes and you may not need to go any further. You don’t really need a razor-sharp knife, you just a need a knife that is sharp enough for the job. If you’re a cook in a restaurant, a sharp-enough is what you need in a stressful daily situation and too sharp of a knife can be a risk, as well as a dull knife.
In my case, I’d like to achieve a razor-sharp and smooth edge every once in a while, and since this is my brand new knife, I want to give it a full welcome treatment.
Under a microscope, you will be able to see the grinding marks as deep scratches in the material, even with 1000 grit stone, which is already quite fine.
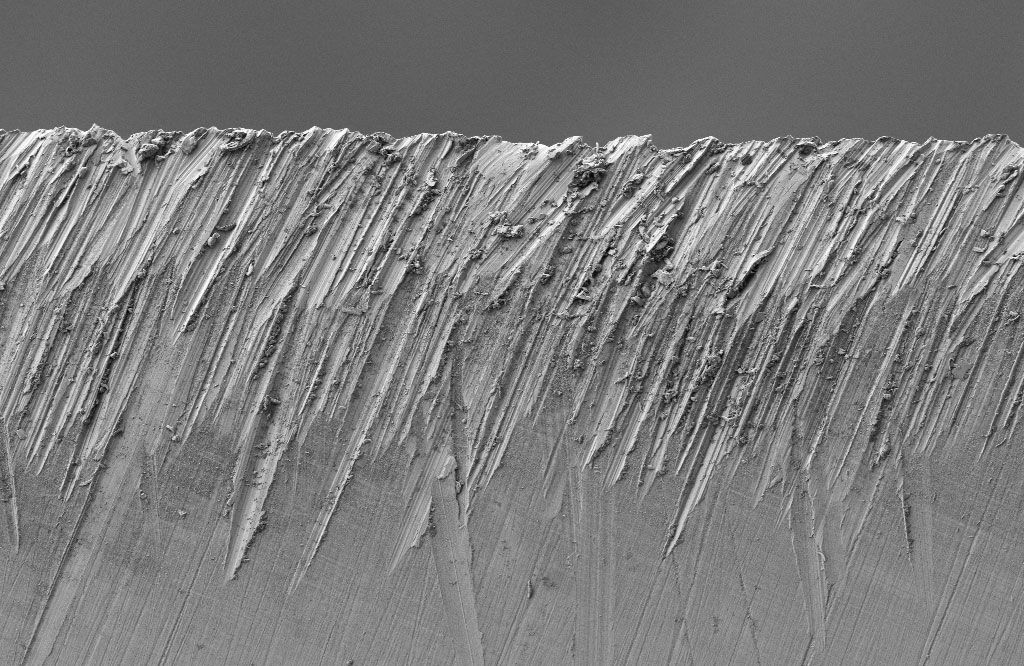
By using finer stones, we are looking to make shallower and finer scratches into the high spots of the marks left by the previous grit, to make the surface gradually smoother.
With the finer stones, you are again looking for a full-length burr, but in this case, it will be much finer and harder to feel. Your wet fingers are very sensitive and you should be able to detect even a small burr that is just forming at the very edge of the blade. A burr is tiny, but very sharp, so it will catch on your skin.
Final Steps
Once you’re completely happy with the state of your blade, it is time for a few final steps.
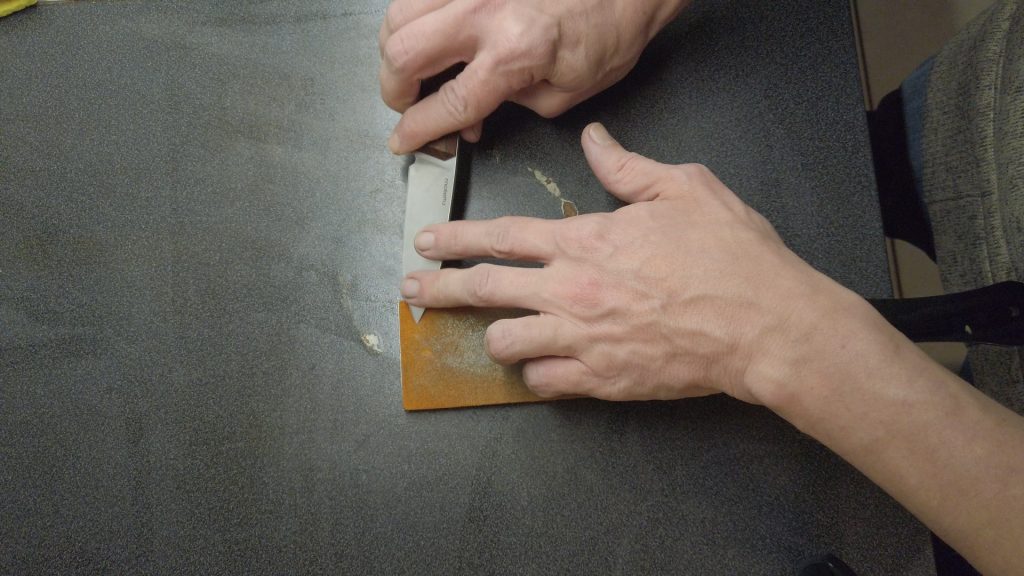
Stropping with Leather
A piece of leather glued to a flat surface is an inexpensive tool which will allow you to do one last polishing step on the blade. A stropping tool usually comes bundled with a very fine abrasive medium (aka a polishing compound) in a small block, which further increases the stropping effect when loaded onto the leather.
This polishing step has two goals:
- Straighten the burr at the very tip of the edge.
- Provide one final abrasion step, further smoothing the abrasion marks left by the last stone.
Oiling for Protection
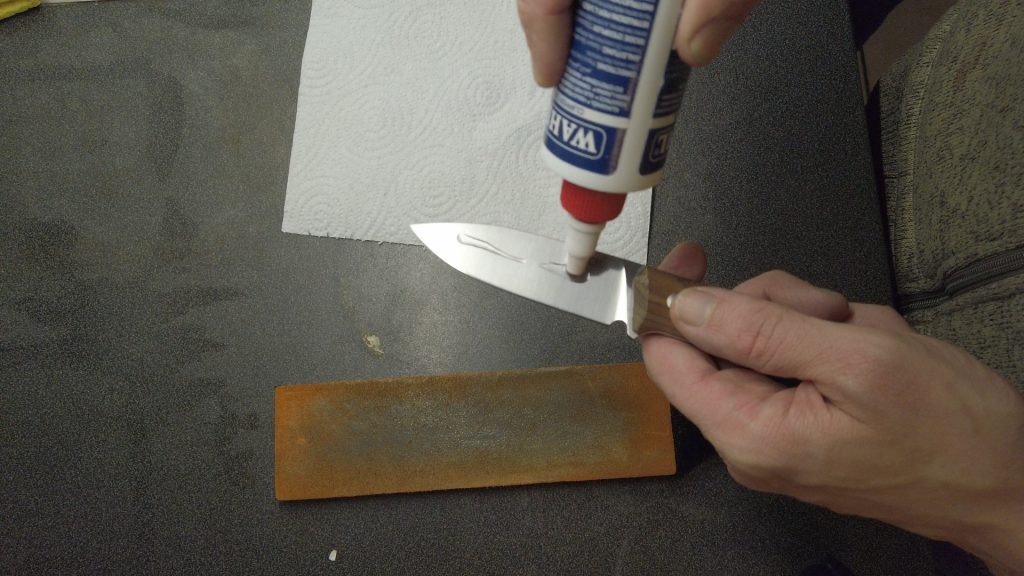
Even though the blade of my knife is made of a type of a stainless steel, I prefer oiling the blade to protect it against the elements, especially moisture in the air, which can cause oxidation and unnecessary staining if the knife is stored for a longer time.
This should normally be done after use and after sharpening, before the knife is put away for storage. A fine layer of mineral oil is a very quick way to preserve the blade surface.
Final Review of the Sharpening Process
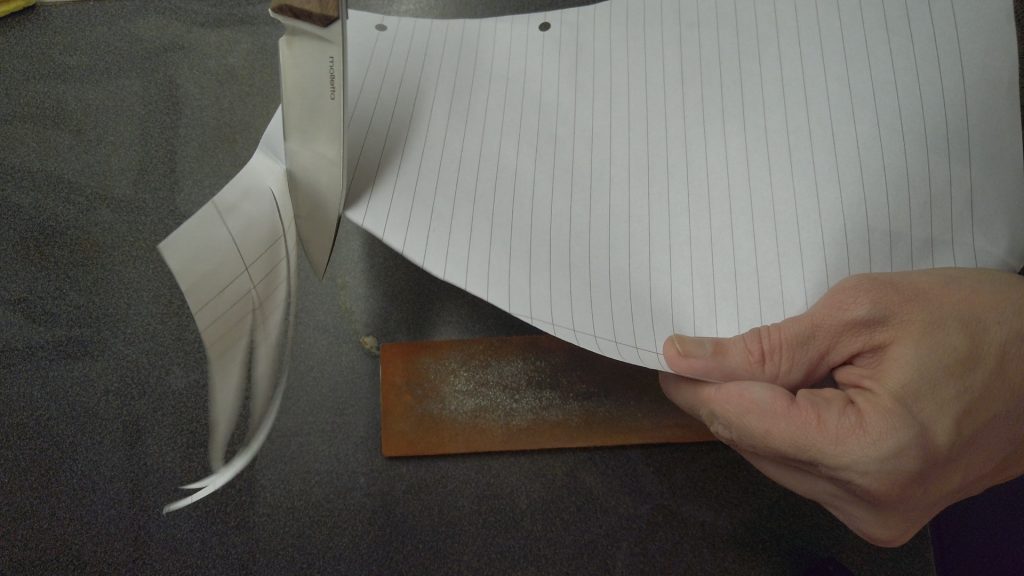
Here are the promised photos of the finished blade, showing a remarkable difference between the freehand-sharpened blade and blade destroyed by handheld sharpeners (photos above in this article).
