“You’re building your first house for your enemy, your second one for your friend, and your third one for yourself.”
English proverb
There is simple never enough storage space. This simple truth applies especially in Ireland, where most of houses in typical estates have very restricted garden areas, sometimes to a point where one would feel ashamed to buy a dog to guard it.
Faced with such deficiency, I decided to build a somewhat complicated garden shed to deal with the issue of insufficient storage space, and perhaps, if I am really lucky, also have a tiny workshop, or at least, a corner with a small desk with a vice.
I’ve never built a building before, but I feel confident enough in my ability to do so safely. I love working with hands, I am decently good with wood, and I have a healthy back. I can trust my basic knowledge of physics and the ability to intuitively combine force vectors to guide me through the maze of building a stable, safe and sound structure.
YouTube Playlist
Click Here to Open my YouTube Playlist
If you prefer watching this content in a video format, please use the link above where you will find a playlist with my shed build.
The Location
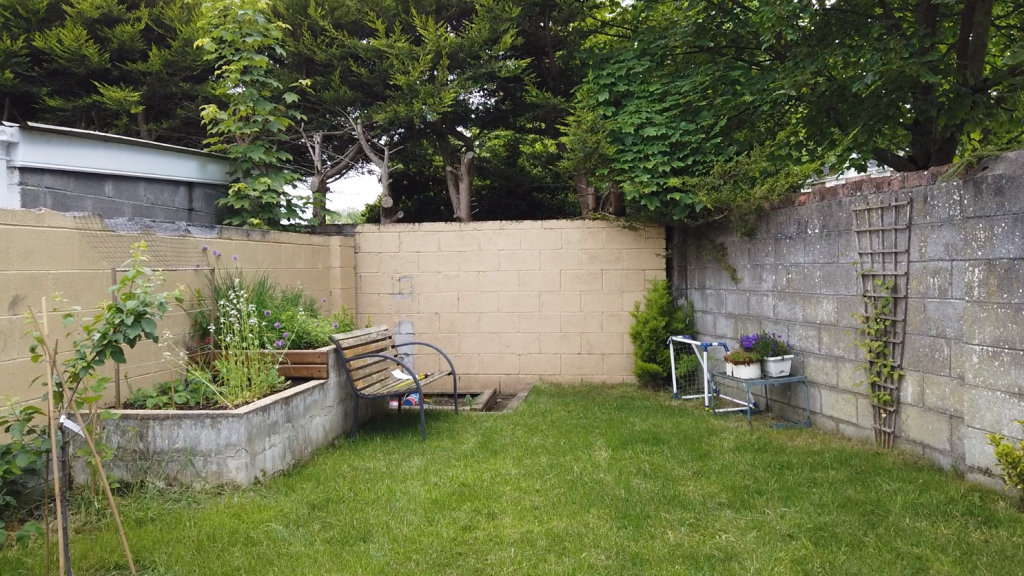
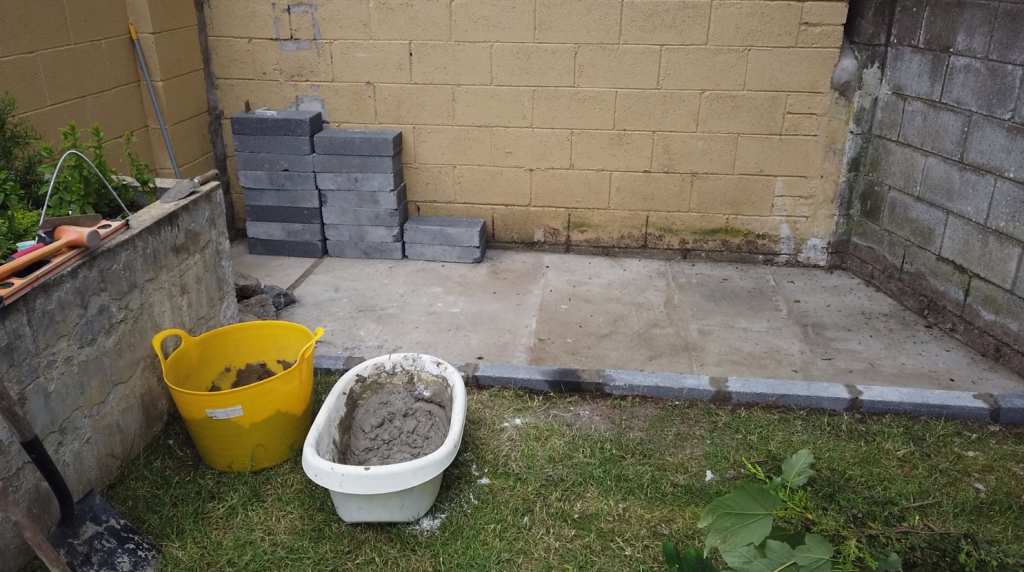
This is the very back of the garden where the shed will stand. Truth be told, what you see in this picture is nearly the full extent of the garden, so you understand the need to keep things tidy a tucked away.
The boundary walls are structurally very stable and I plan to use them as part of the shed structure for stability. That means that the only wall that will need to be built is the front-facing wall.
Wall Repairs
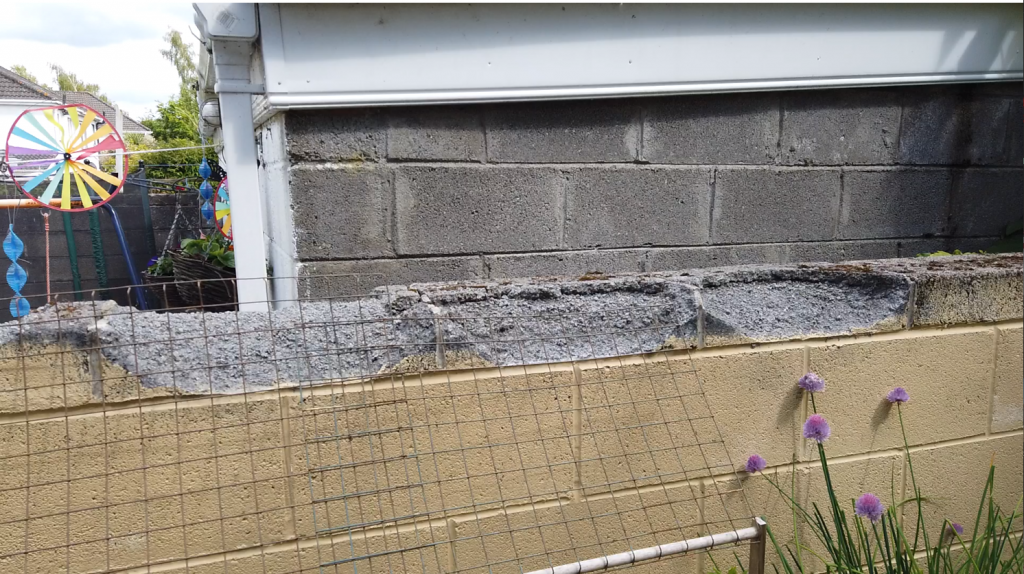
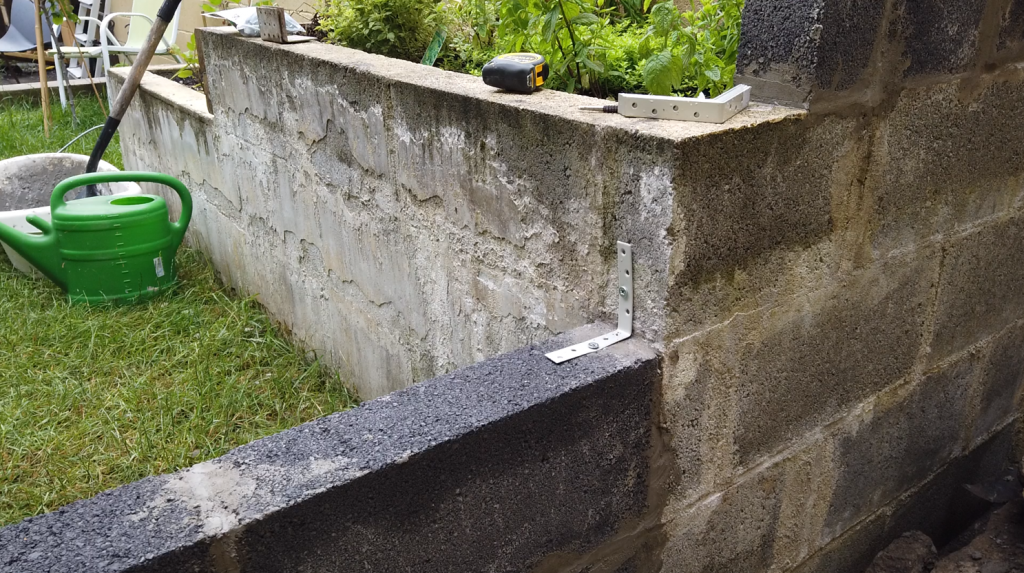
Before the building work can be started, the very top row of concrete blocks on the left boundary wall will need to be replaced as the existing blocks have completely disintegrated due to exposure to the Irish weather, and their poor composition.
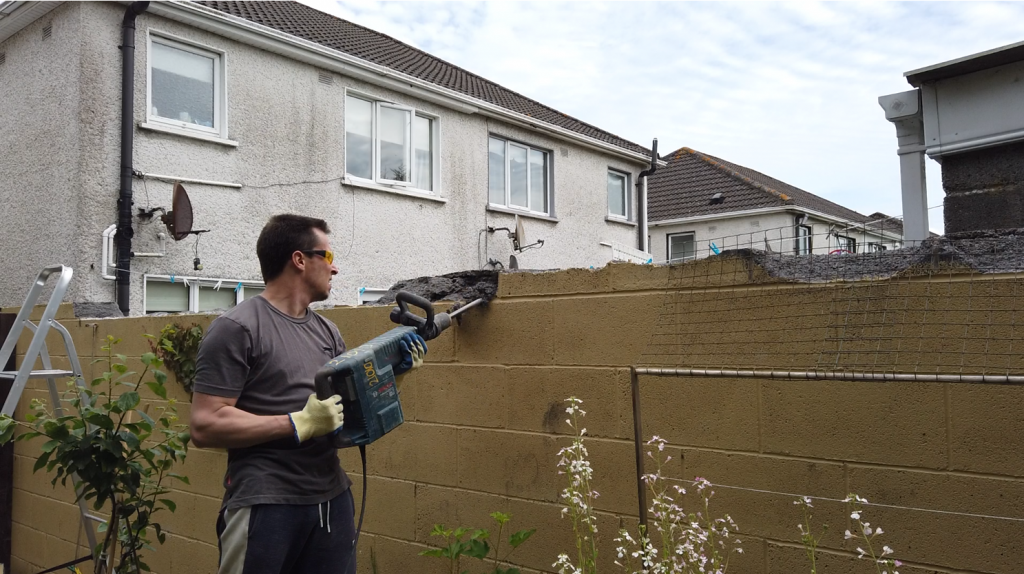
I rented a jackhammer and spent the weekend removing the top row of poor-quality concrete blocks and cleaning the sound blocks below from any remaining mortar.
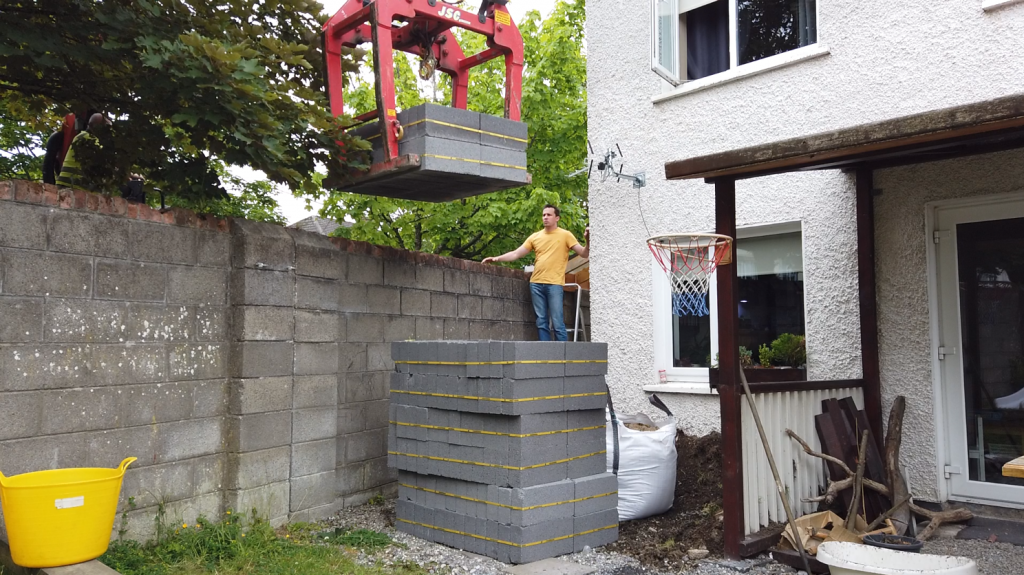
The shipment of 192 concrete blocks was delivered over the wall. Access from the road wasn’t a problem and it was done for the price of two pints of beer to the driver.
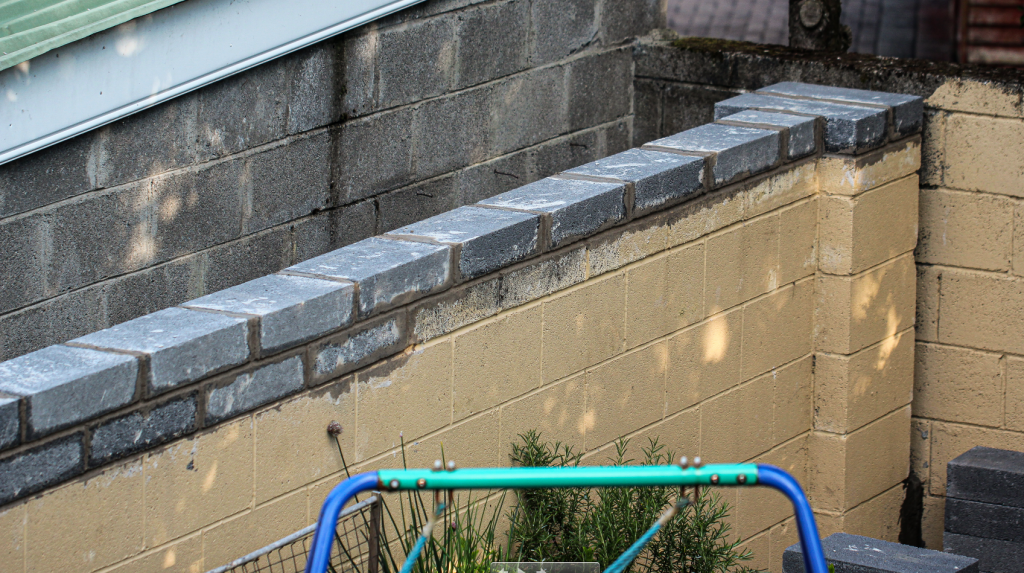
Fast forward a couple of weekends, the wall is now fixed and a new row of blocks is in place. The height of the wall was well below the official 2-meter limit so after an agreement with the neighbor, an extra row of blocks was added on top bringing the height of the boundary wall closer to the limit.
Concrete Slab
With the crumbling boundary wall taken care of, foundations for the shed itself could be started. I decided to go for a 10+ cm thick concrete slab with no rebars.
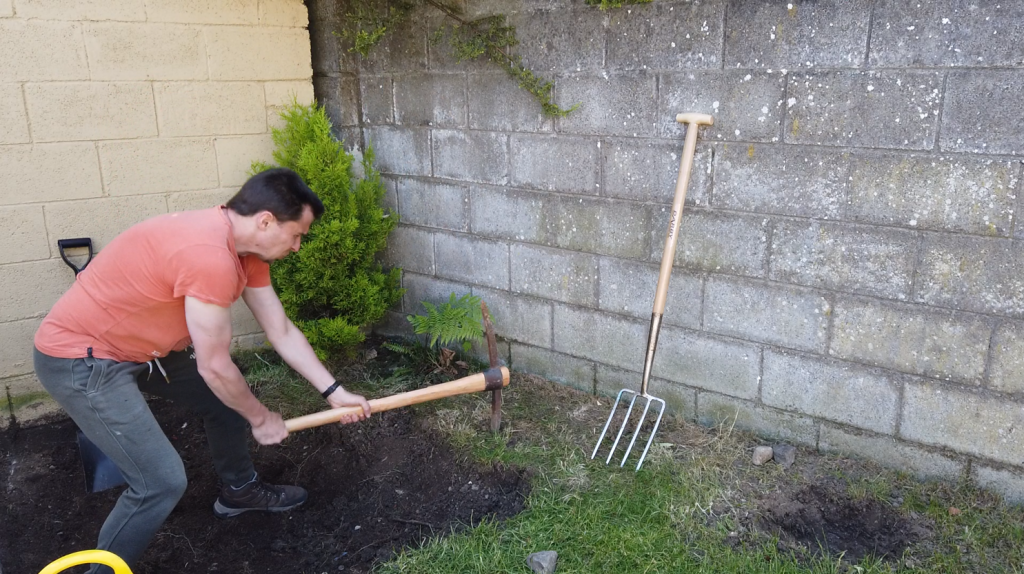
First, I had to dig out the dirt to make space for the slab. This alone was work for another couple of weekends.
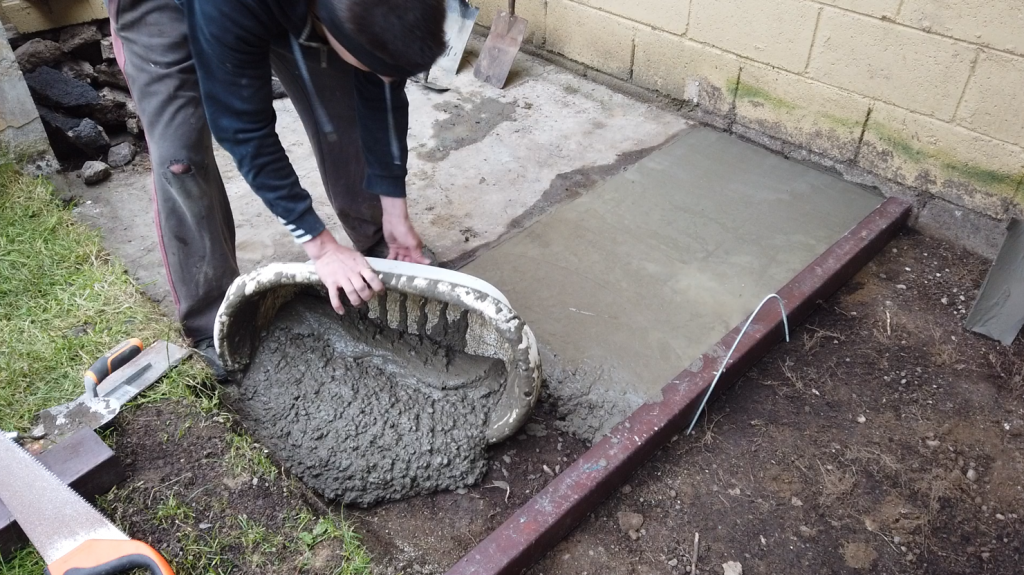
Due to the fact that concrete was mixed manually and painstakingly in an old baby bathtub, I was only able to process 1-meter strips of the slab at a time.
I used a 1:3 ratio of cement to sand and I added gravel to the resulting mixture to bulk it up and give it strength.
And yes, I am actually using a kids’ halloween candy bucket to pour pebbles into a kiddie bathtub, nothing to see here, it works.
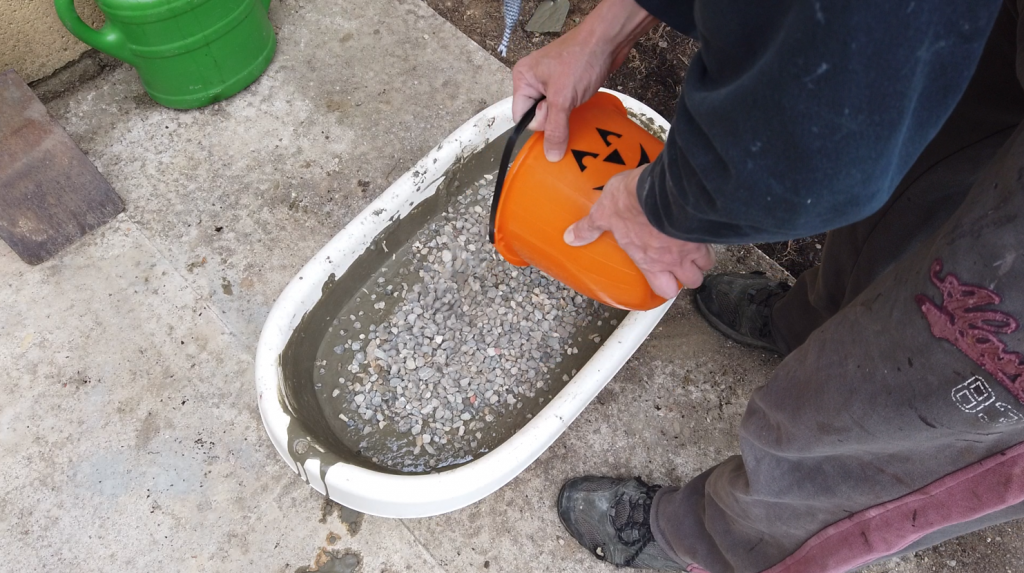
It took a number of days of concentrated mixing and pouring of concrete, working the creme to make it smooth, and supplying enough water as the concrete hardened via a process called hydration. Hydration of cement consumes water, and is negatively impacted if it gets out of it.
Bricklaying
As soon as I trusted the concrete slab enough to support the weight of the structure, I started the process of laying the concrete blocks, leaving a gap in the middle for the door.
Since bricklaying bond was not possible at the edges of the newly built wall, I opted for tying the new wall to the existing surrounding elements with brackets.
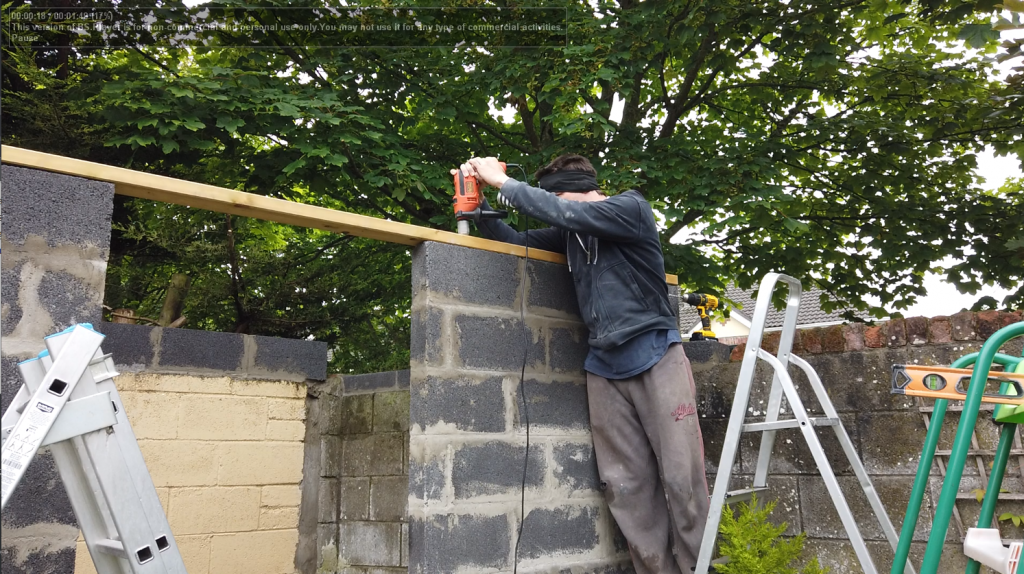
Top plates were fastened to the finished walls, serving as a mounting substrate for the remainder of the structure, which was to be timber framed.
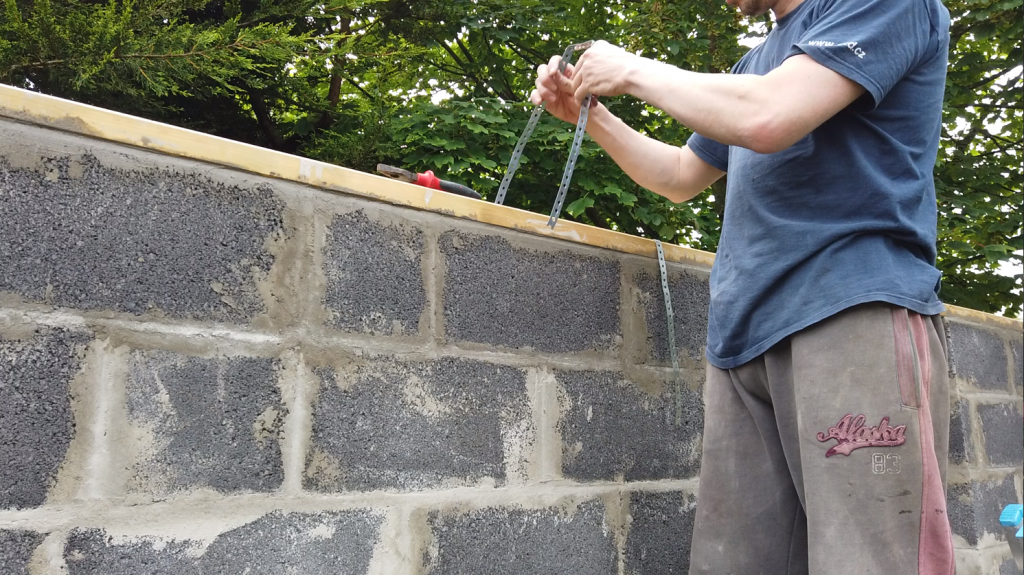
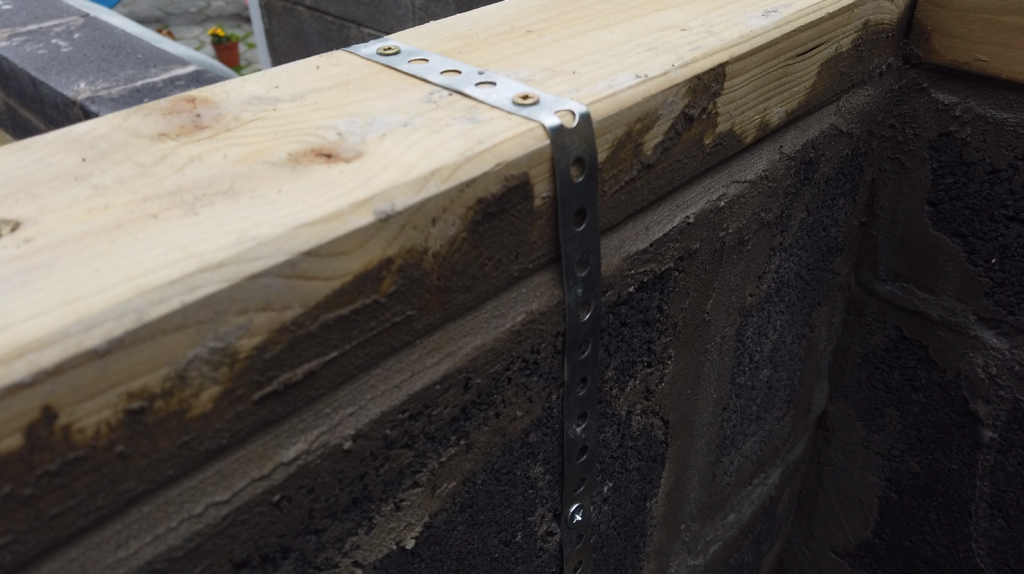
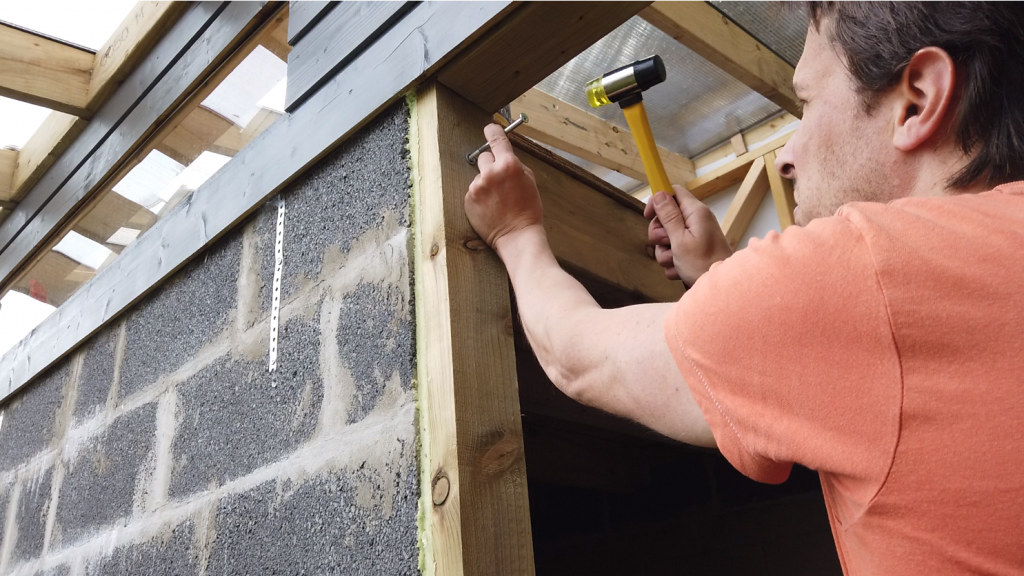
For extra security, top plates were tied down with metal strips as well.
Timber Framing
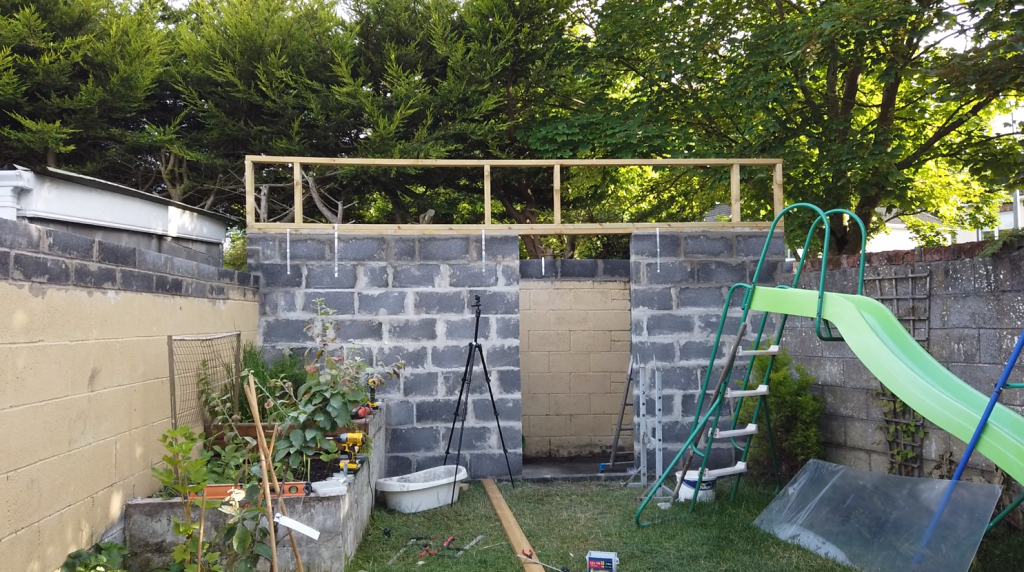
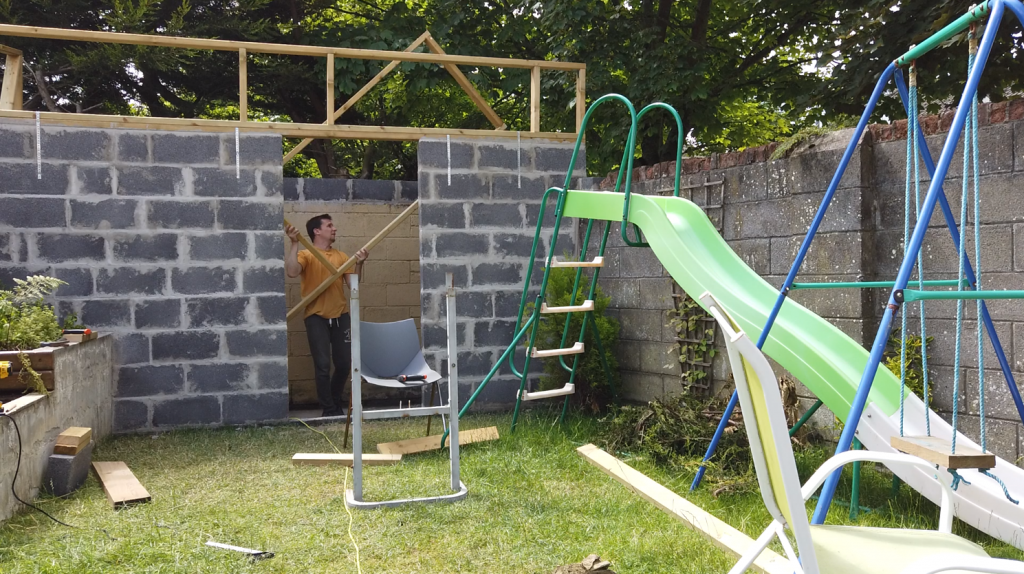
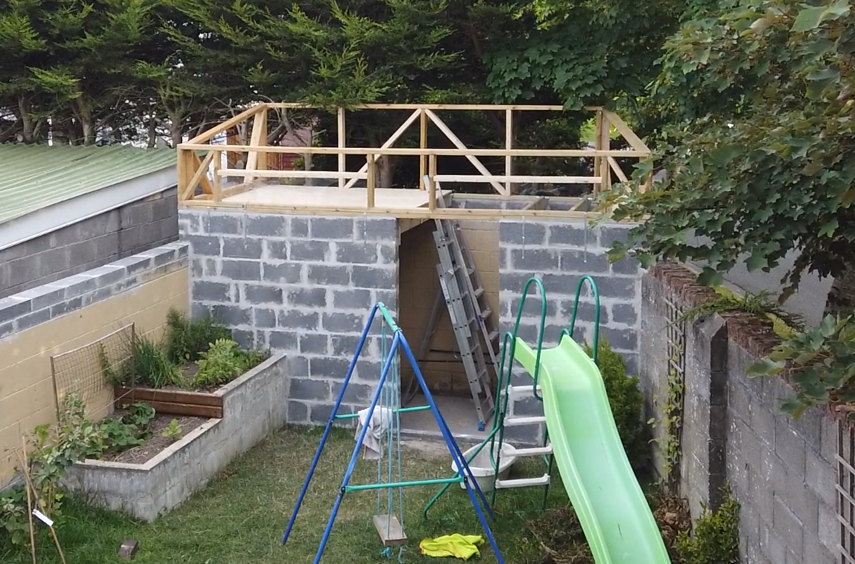
With the main brick structure in place, I proceeded to build a timber frame that will sit on top of it and support the rest of the building, including the roof. It will form the second level of the shed and provide an interesting combination of building approaches as well as a contrasting combination of finishes.
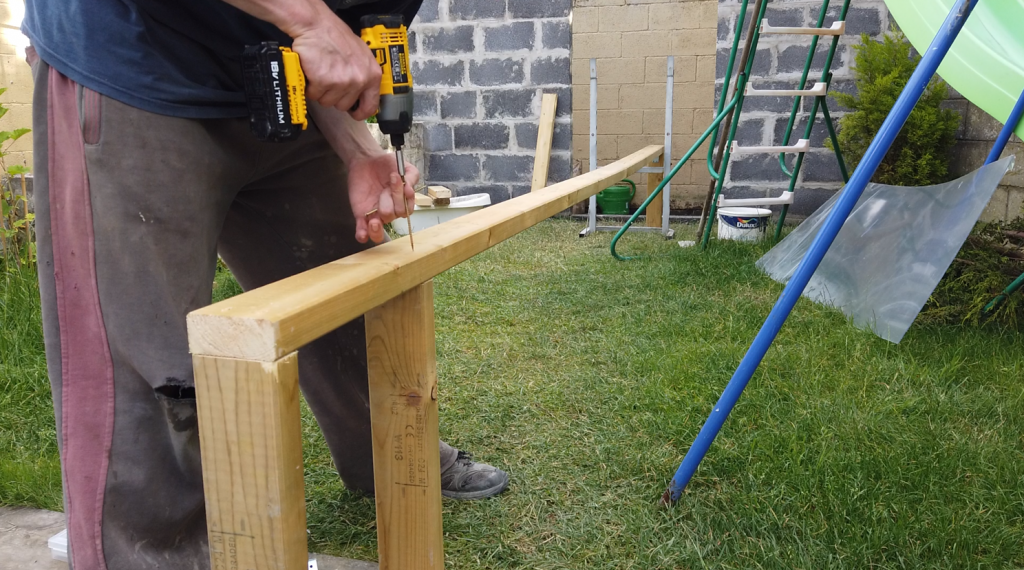
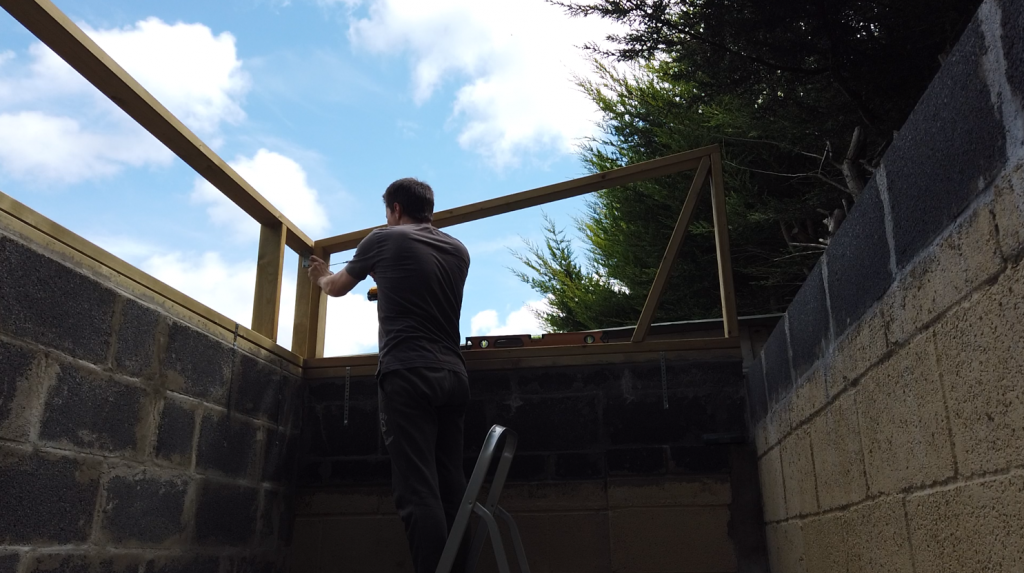
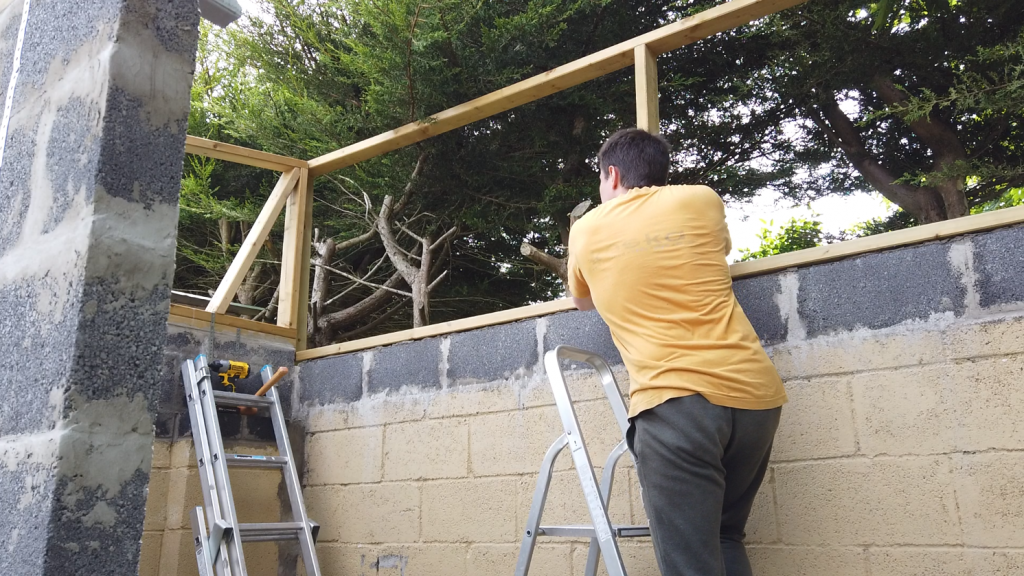
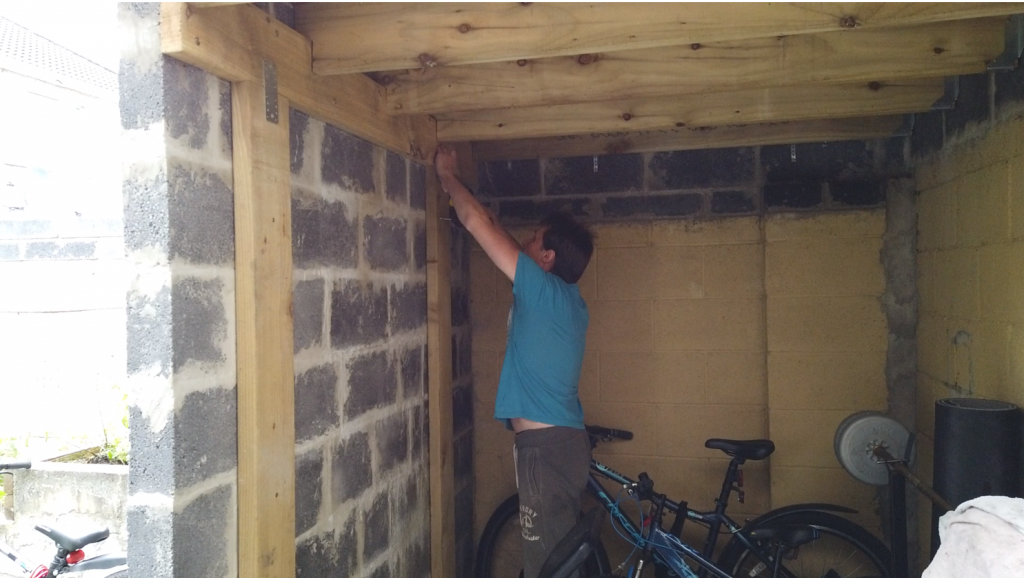
I put together the bare bones of each framed wall separately and fastened it in place so I can build up the remainder of it in situ.
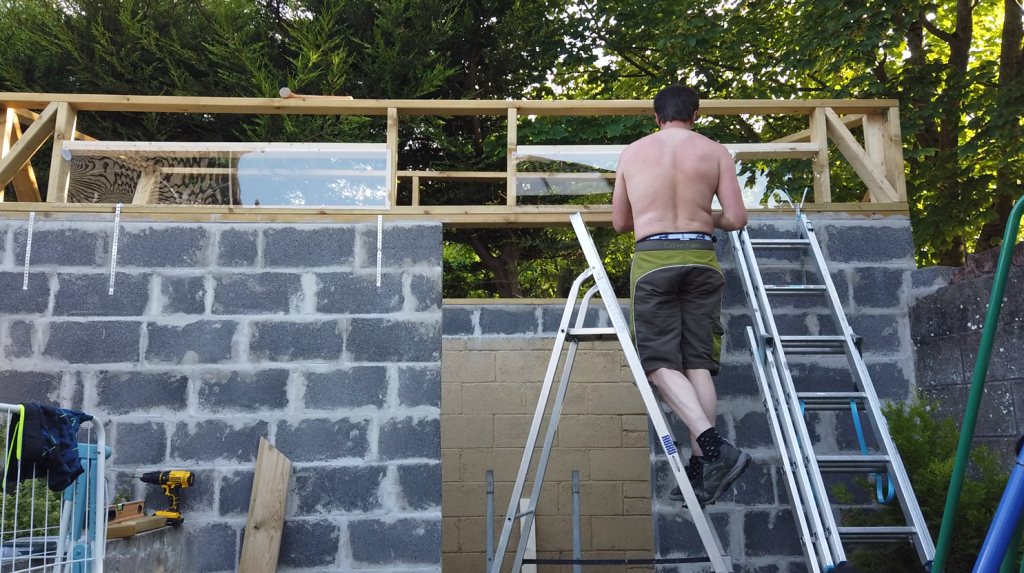
For multiple reasons, nearly each brick wall was of a different height, which required each timber frame to make up for the lack of height where required. Also, the roof needed a minimum slope of 15 degrees, which required the rear frame to be not only one of the widest, but also the tallest of and very unwieldy.
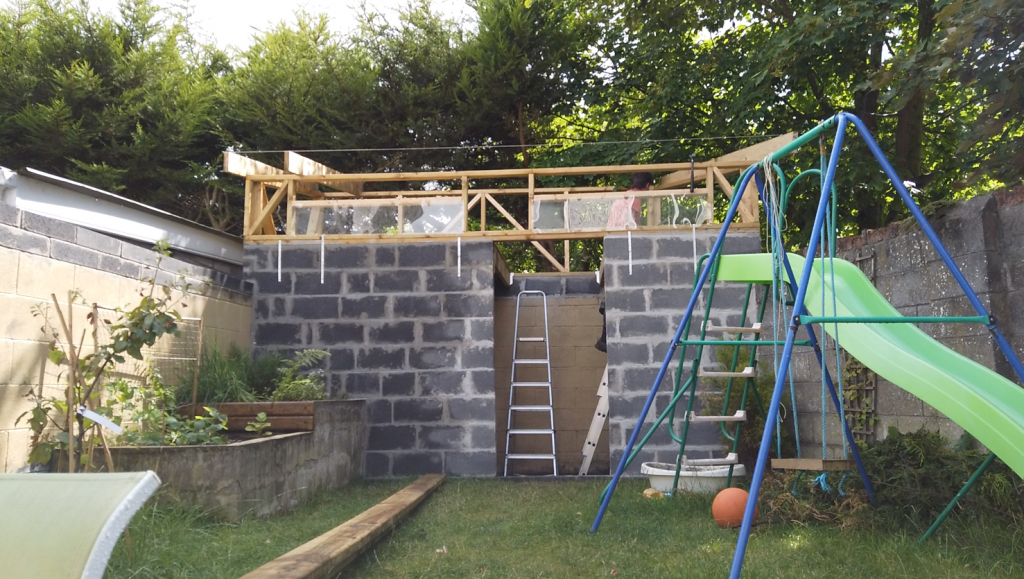
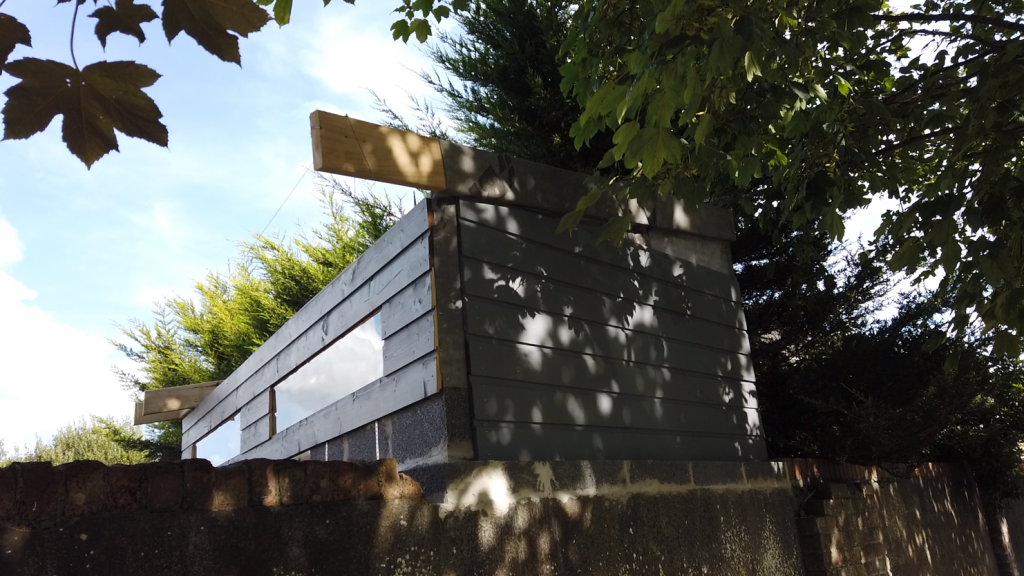
Plexiglass leftovers from a previous project were cut to size and fastened in place to make windows. This in combination with a clear polycarbonate roof should ensure enough light in the shed during the day.
Subfloor
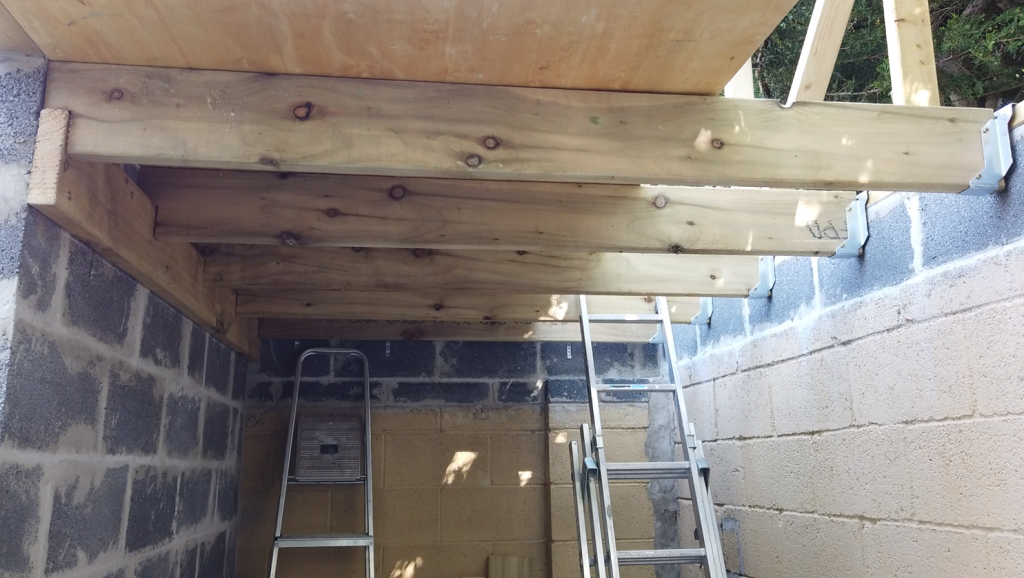
Subfloor joists were hung on joist hangers on one side and, due to unequal wall height, on a piece of timber on the other side.
For structural integrity and to support the full weight of the subfloor and whatever it holds, the weight of it needs to be led all the way down to the concrete floor, which required two legs to be added to it.
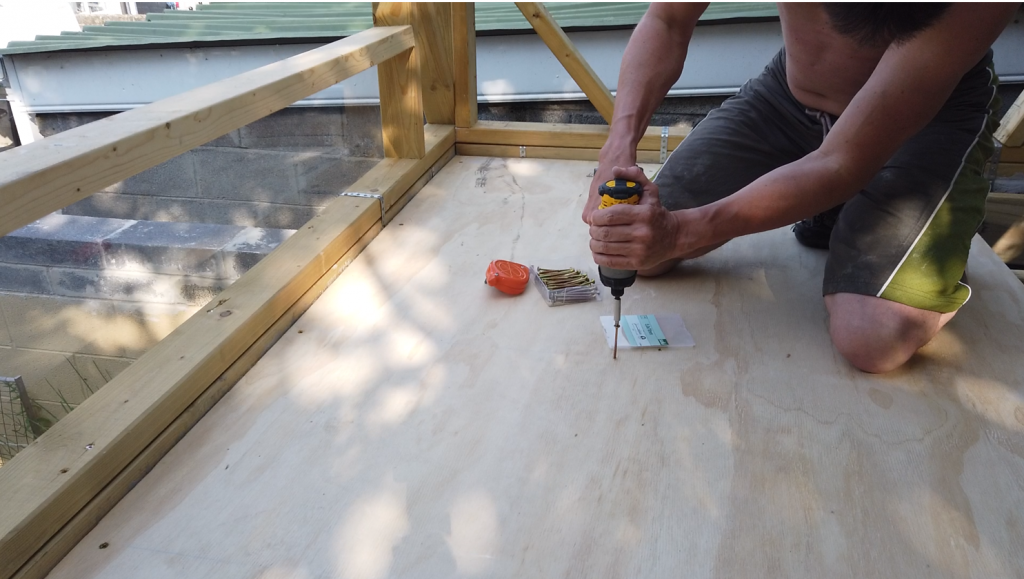
18mm roof-rated plywood was screwed to the subfloor joists, creating the second floor for additional storage.
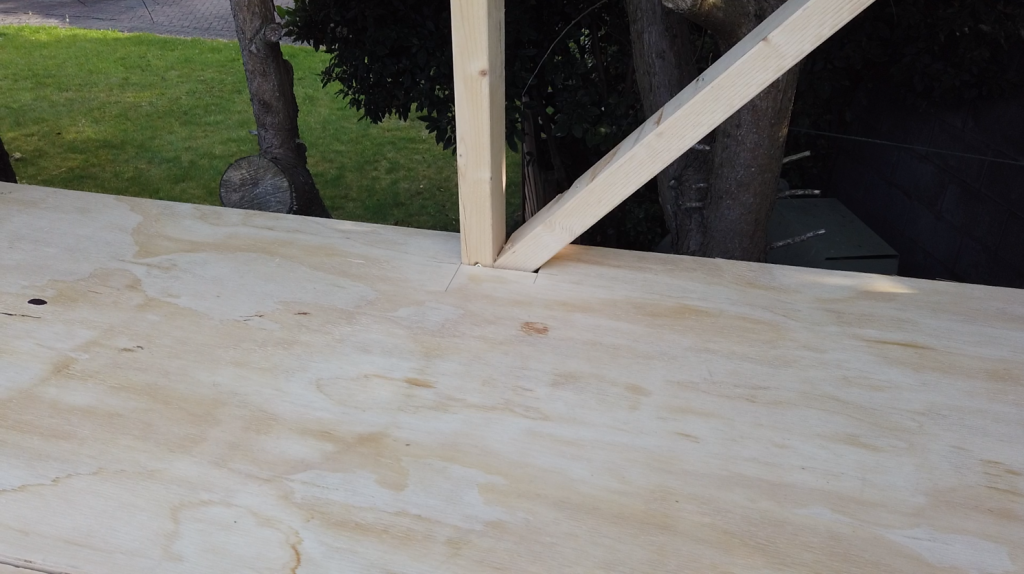
The plywood has been cut around the existing timber frame elements to utilise all of the available surface for storage.
Outer Jacket and the Roof
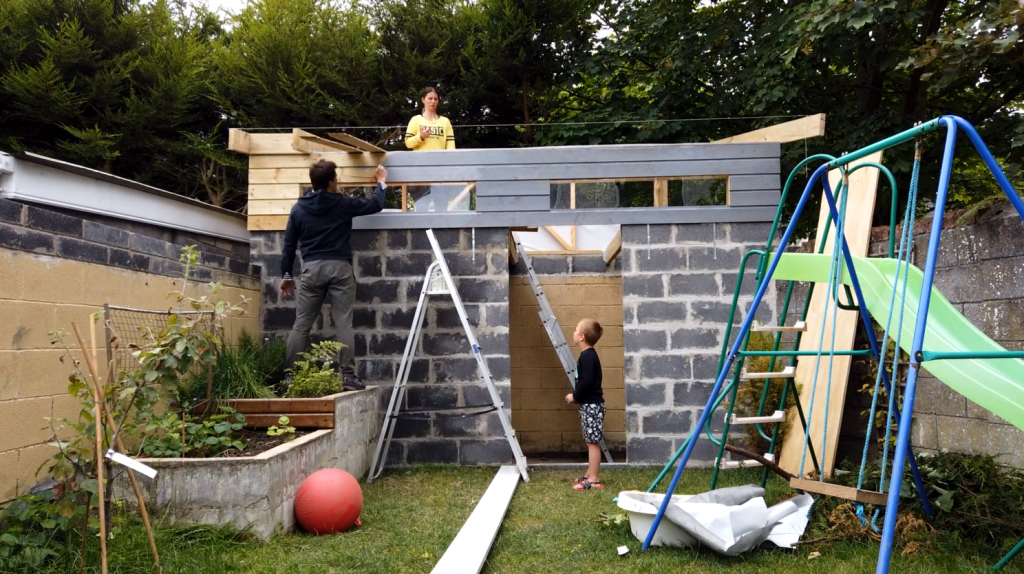
With all the structural elements in place, the structure needed to be made rainproof. I started cutting the rafters to fit the existing frame. With no scaffolding or other means to get to the roof once it’s been built, I had to completely finalise each section of the roof separately before moving on to the next.
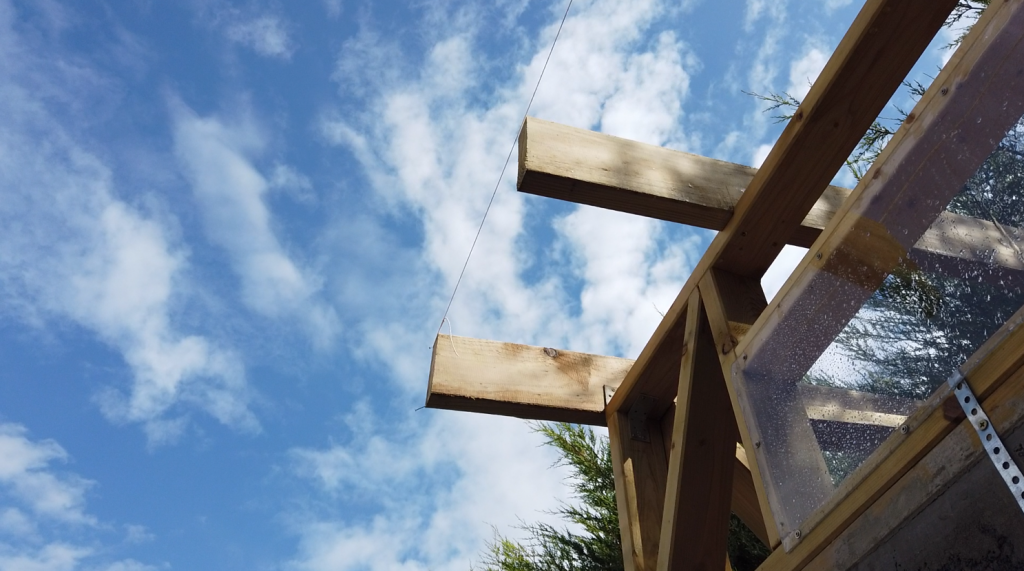
A line was put up to keep my efforts straight.
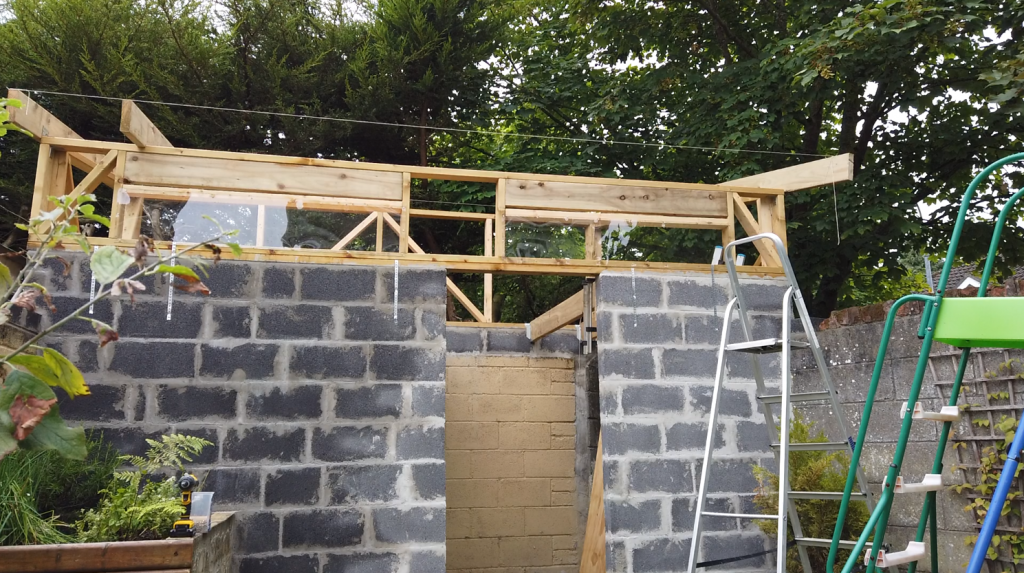
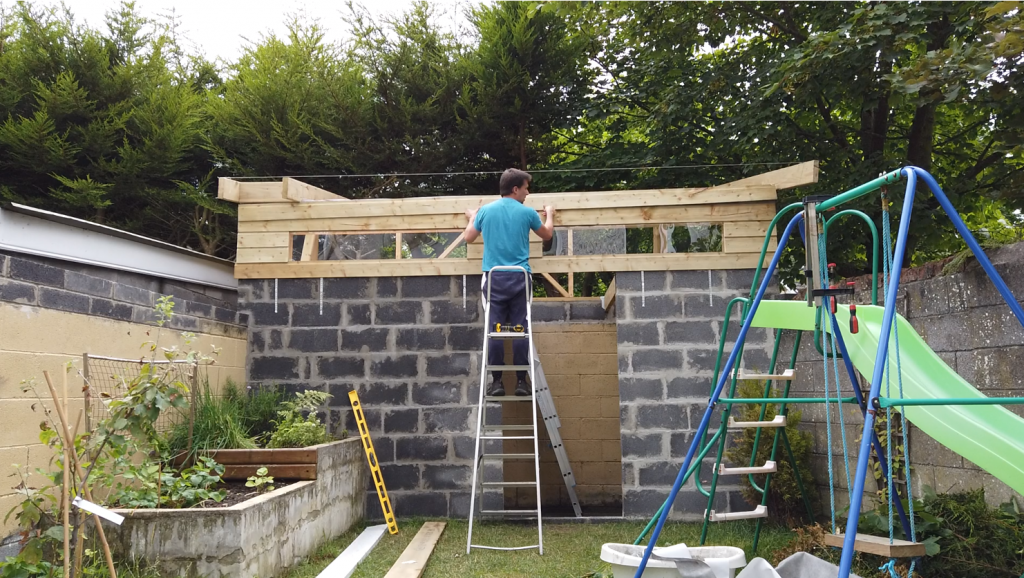
I gave a second thought to the way lintels were constructed above the windows, and I thought especially about the fact that at least 3 roof rafters will put their weight and the weight of the roof on top of a flat 2×4. It became clear that some serious strengthening is needed. Hence the two new lintel elements have been added, which you can see below.
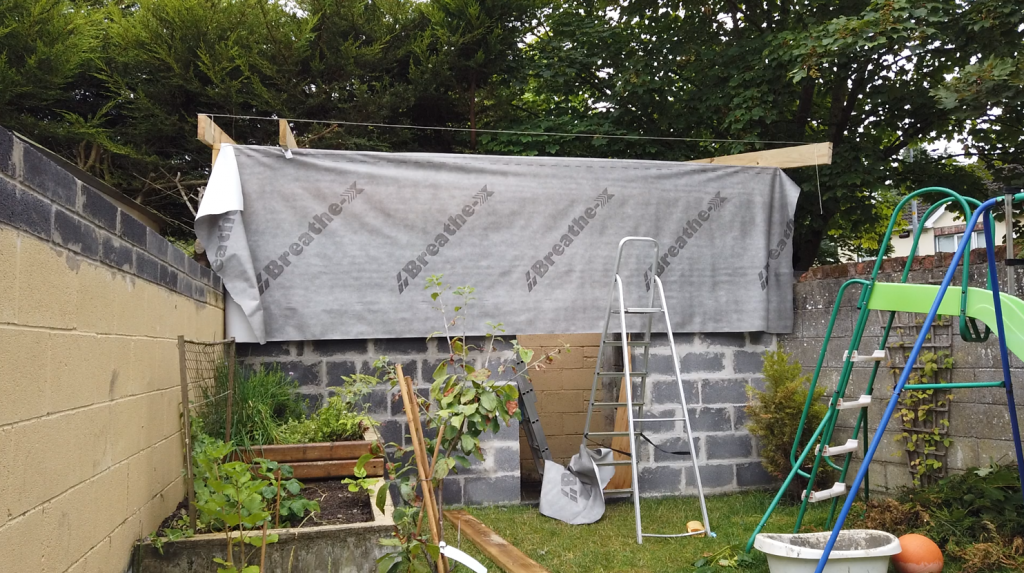
Before I went too far with the rafters, I came back and wrapped the timber structure in a breathable membrane that will keep the moisture away. This makes sense to do before the roof is built so the fabric can be tucked below the rafters.
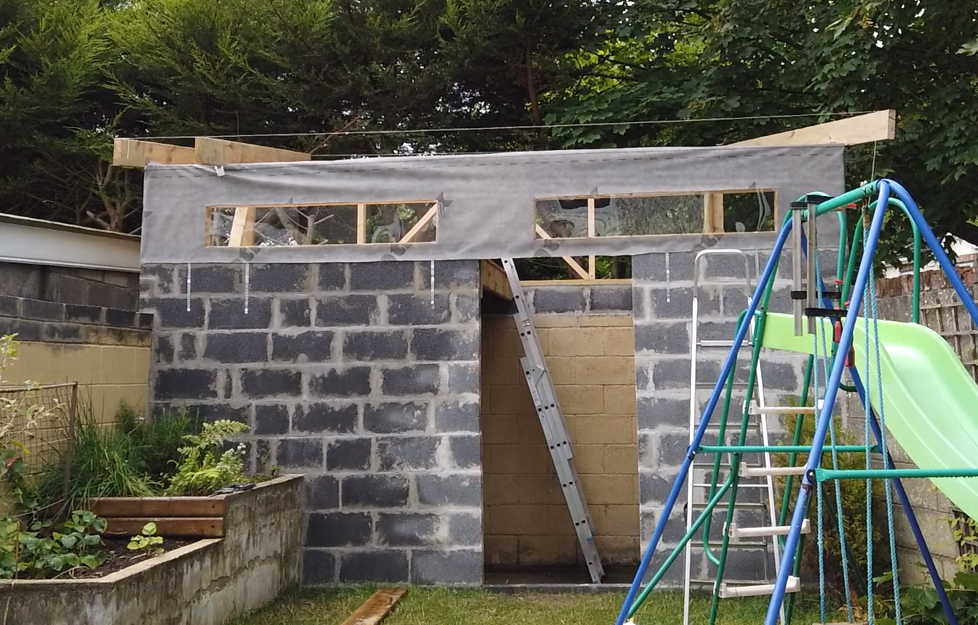
Once wrapped and stapled in place, I cut the fabric around the existing elements.
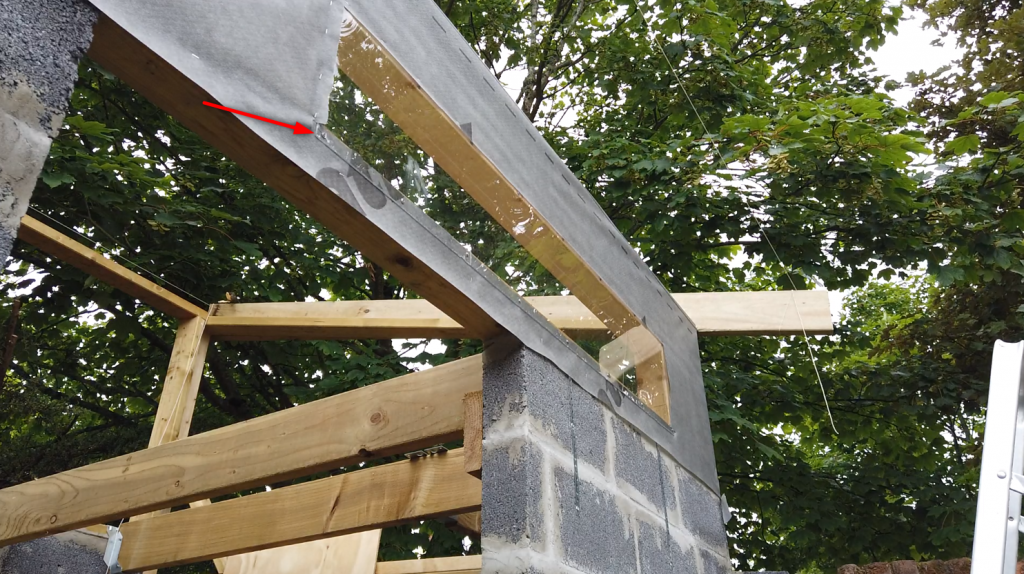
I made sure to pay attention to the direction of flowing rain, making sure that raindrops that hit the windows don’t flow below the membrane.
On top of the membrane, I fastened pressure-treated shiplap boards which will help to keep water out.
I couldn’t wait to see some resemblance of the final look of the shed as soon as I was able to, so I may as well paint the shiplap now.
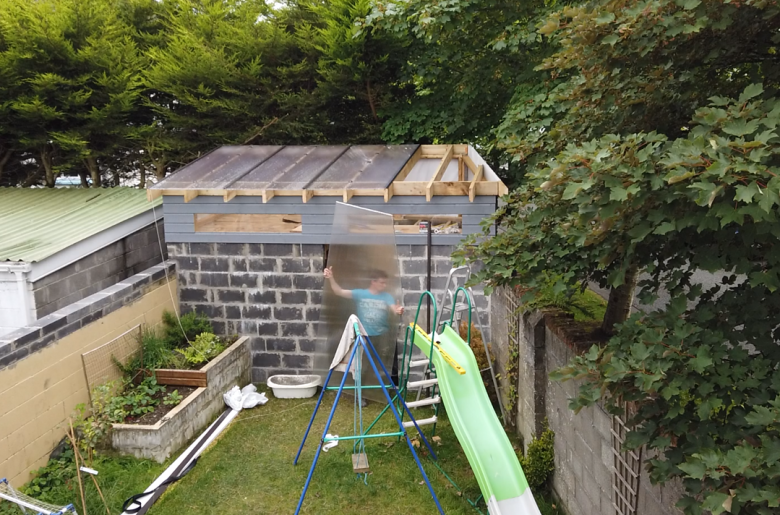
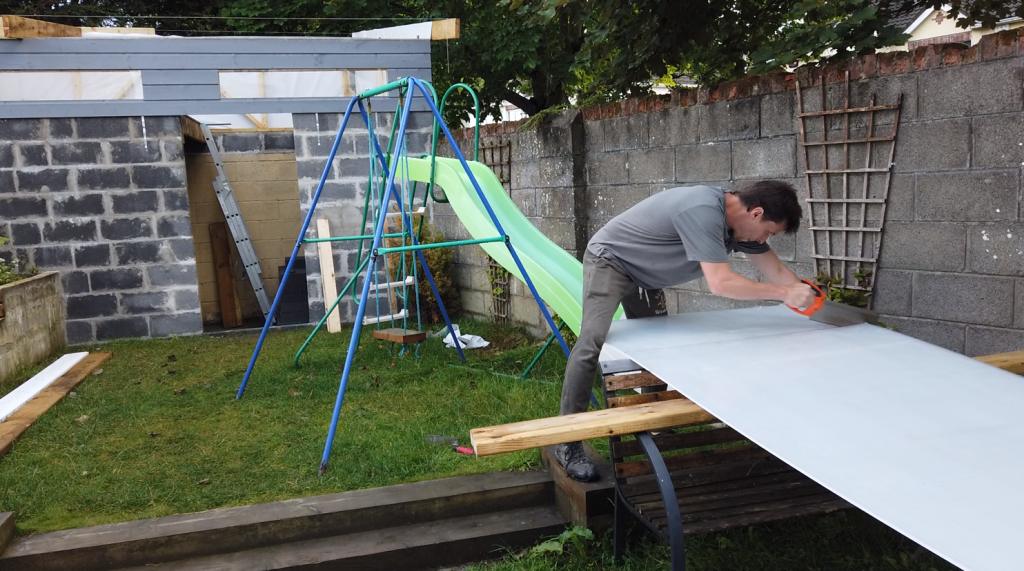
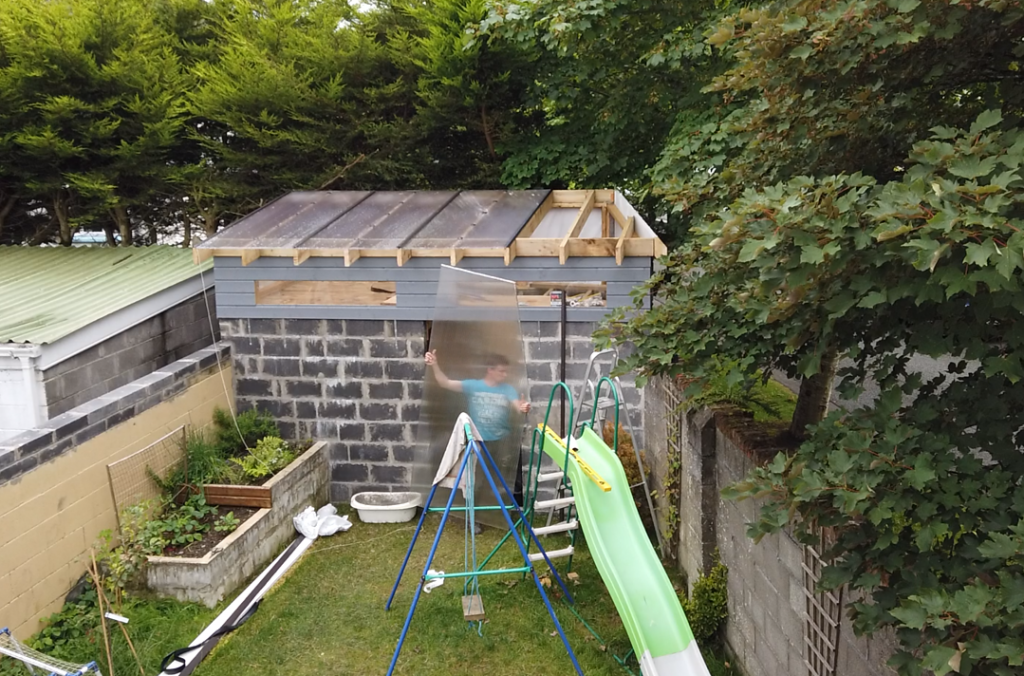
Now, the work on the roof can happily continue. Here, the first 10mm polycarbonate multiwall roofing sheet is being cut to length.
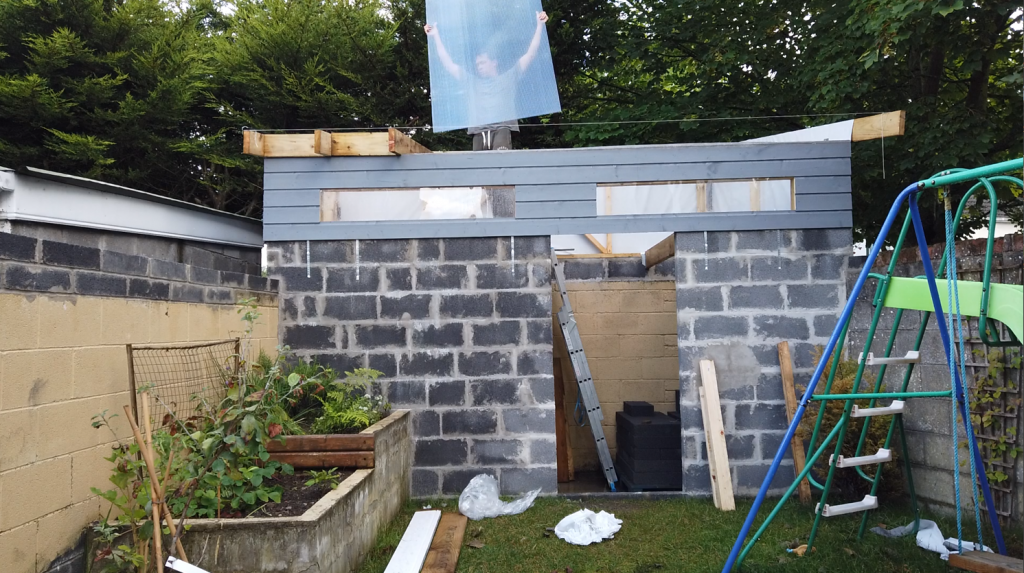
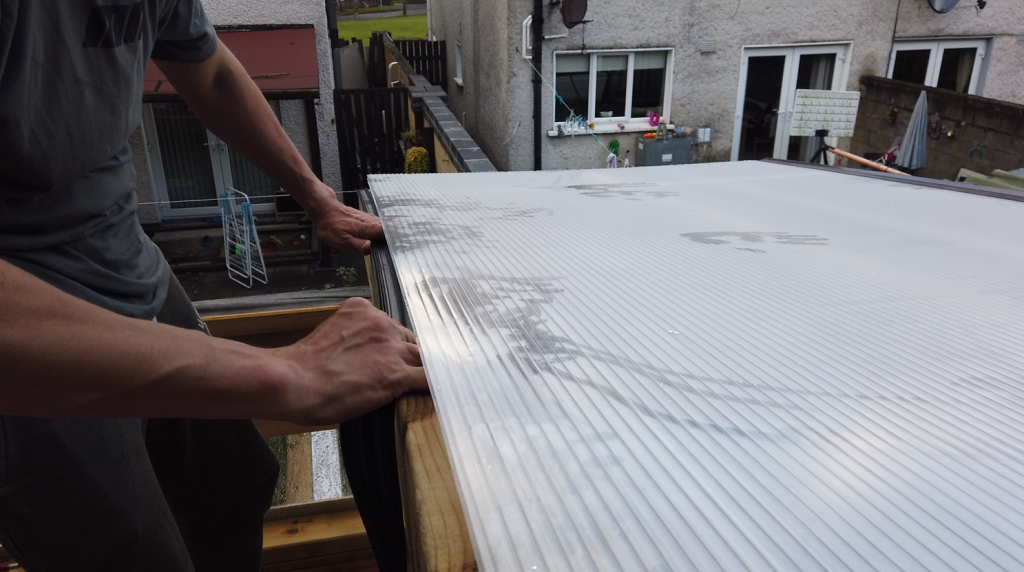
I positioned the first roofing panel in its final resting place, carefully paying attention to any possible issues with water leaks.
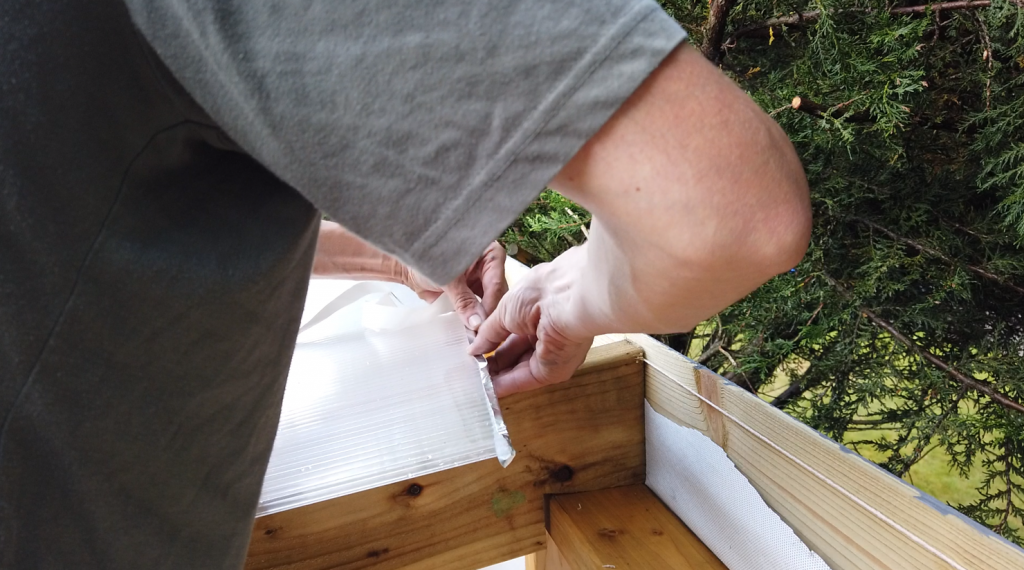
I taped the top of the panels to prevent water from getting in. The bottom of the panels got a breathable fabric tape to keep the insect away while allowing air to get out as it expands when the cavities warm up from direct sunlight.
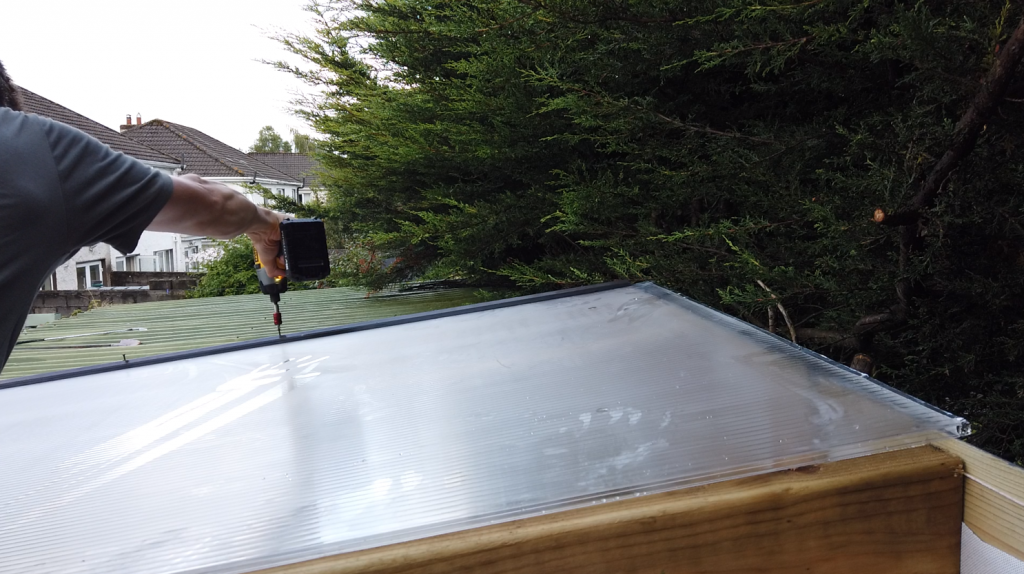
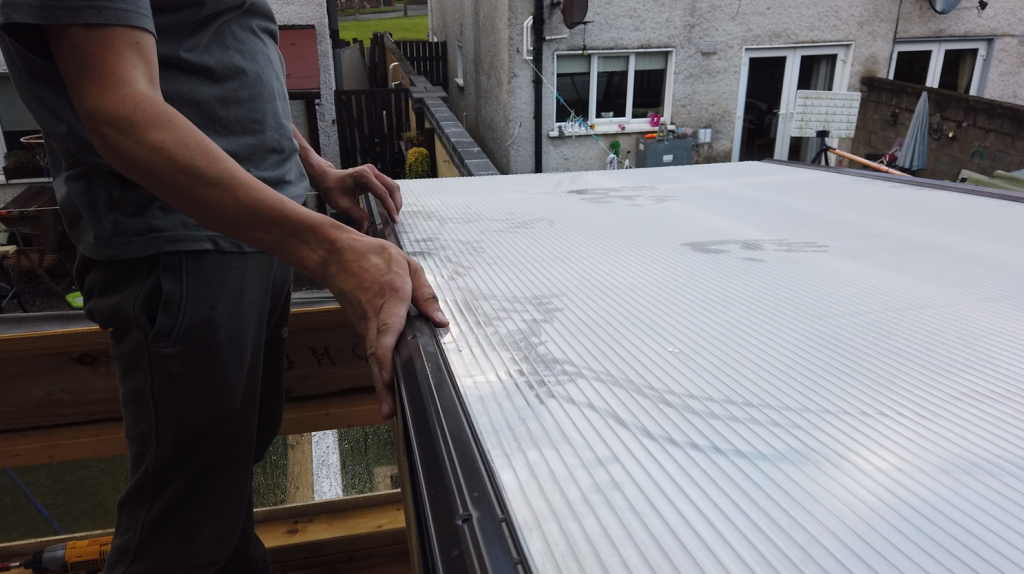
Panels at the edges of the roof are held in place with dedicated “F” elements and screwed down to the first rafter through a rubber gasket positioned between the rafter and the polycarbonate panel on top. An important consideration here is to make sure that the F profile, as well as any other elements holding the polycarbonate sheet in place, isn’t overtightened to allow for temperature-led expansion of the sheet.
Between each two panels, a “T” shaped element is positioned, with its own rubber gasket under the gap.
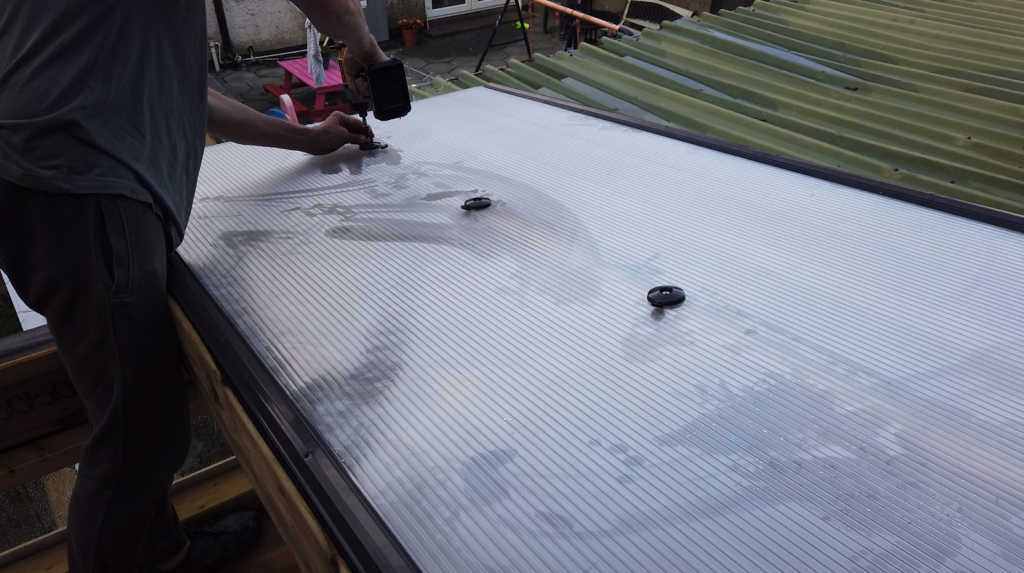
Between the edges, sheets are held down by special buttons, which ensure a watertight fit, yet allow for movement and expansion of the polycarbonate sheet.
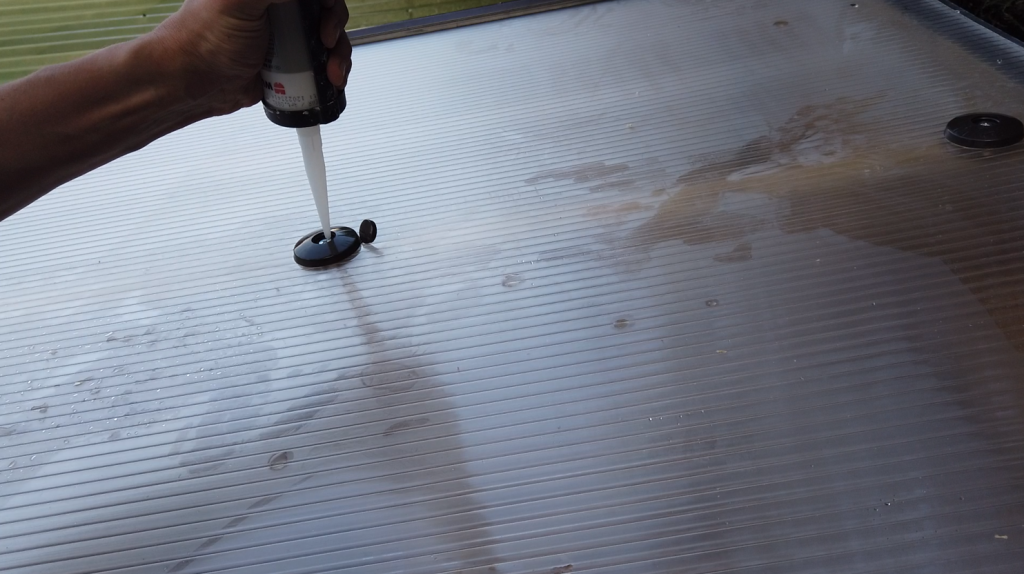
Neutral silicone sealant was used to seal out the screws, preventing water from getting around the screws, seeping into the rafter, and causing failure of the wood fibers to hold on to the threads.
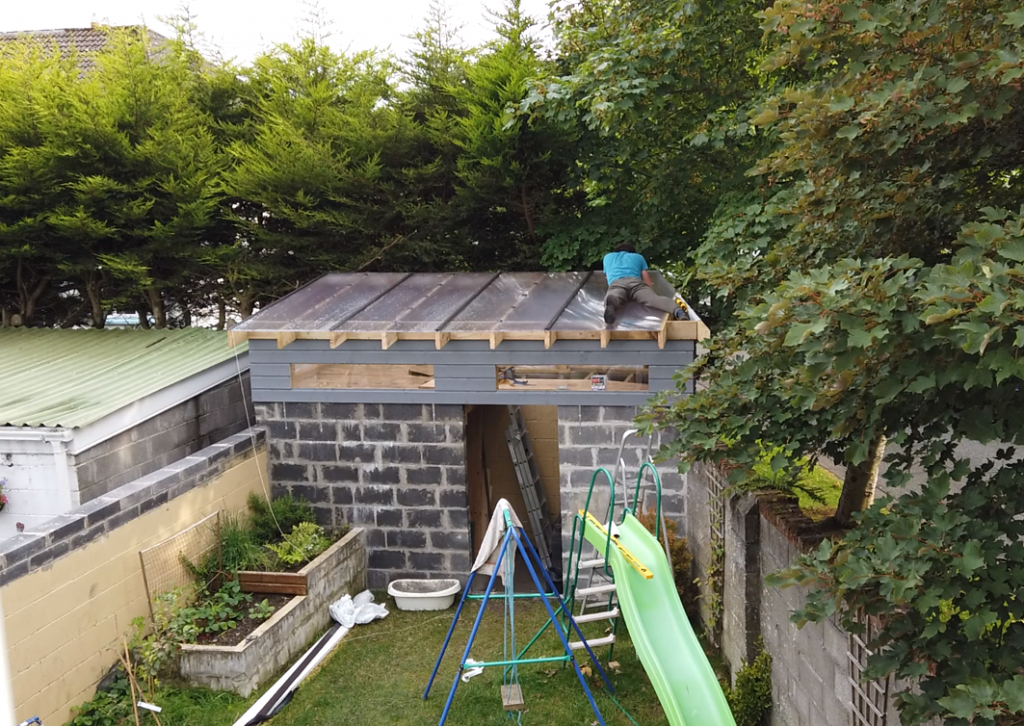
The roofing job continued for the next few weekends and the structure was slowly getting a clear final shape.
The last section of the roof required a lightweight worker and a good feel for spreading bodyweight across as much area as available.
Door
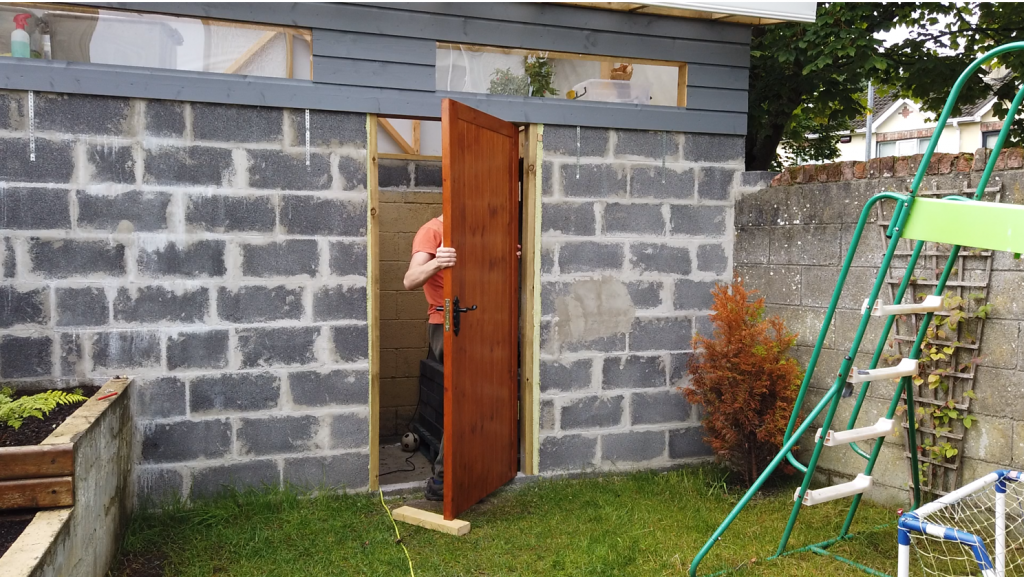
I purchased a simple wooden door without any ironmongery (hinges, locks or handles) and with an unfinished surface. All of that needed to be taken care of.
I started by creating the door frame out of pressure-treated 2 by 4 material (same material used for the timber frame).
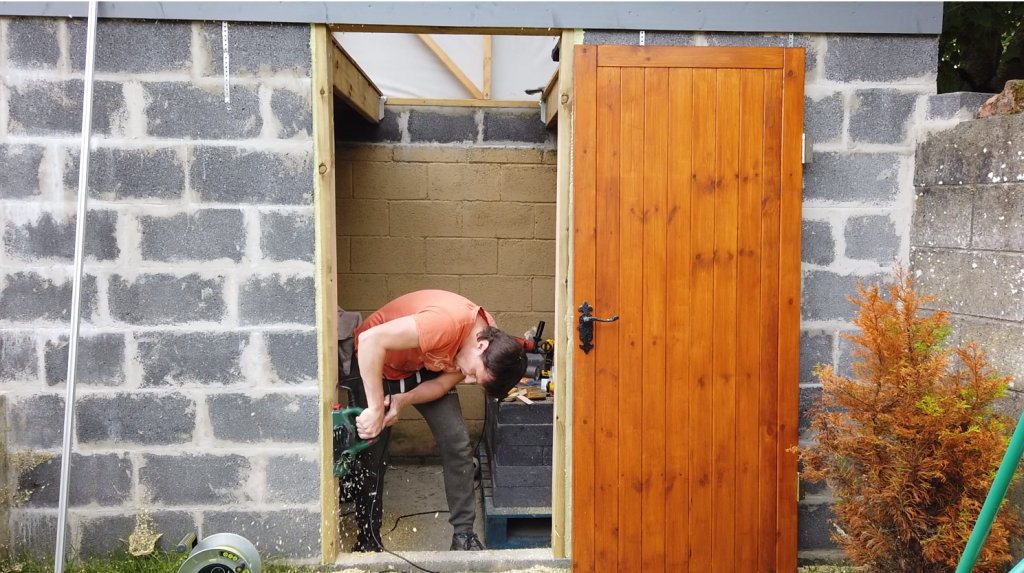
I roughly positioned the frame with the door into the opening in the wall to inspect the clearances and to shim it out to its final position.
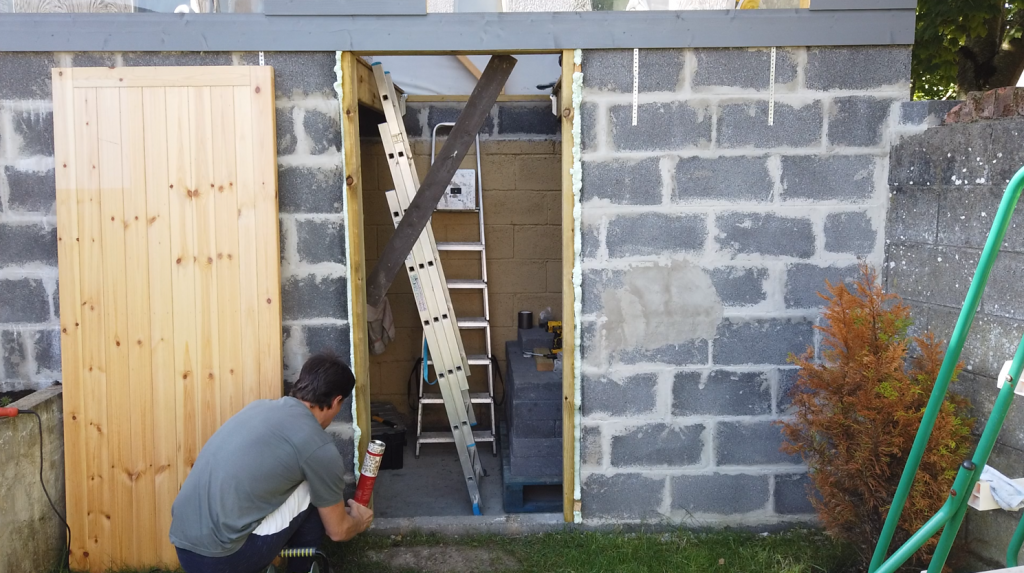
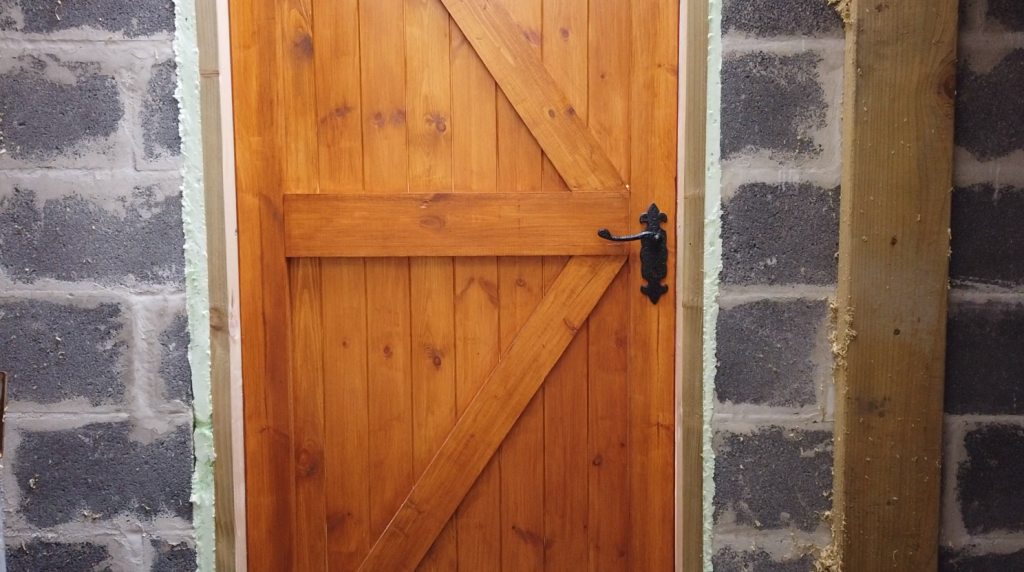
Next, I used PU construction foam to fill out the space between the door frame and the wall, blissfully unaware of the mistake I made here. The PU foam expanded and pushed the vertical legs of the frame inwards in the middle, making the space for the door too small. This had to be fixed later.
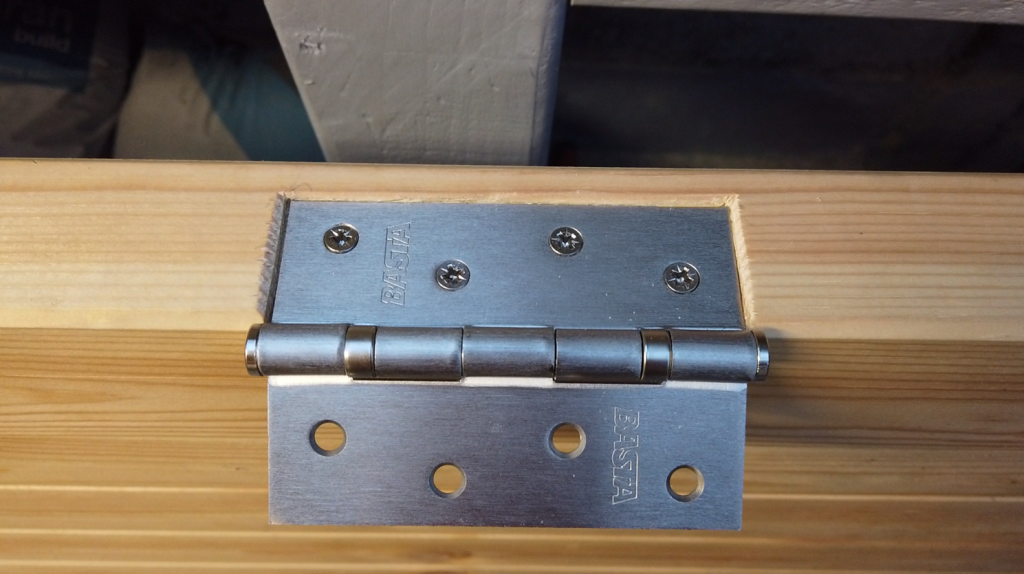
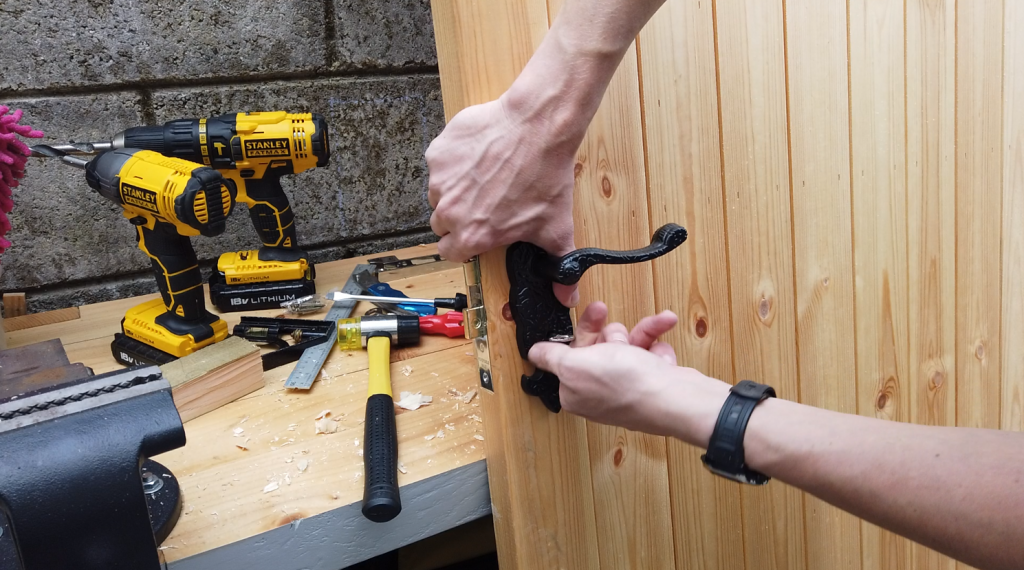
Next, the door had to be fitted with all the parts needed for its operation. Recessed hinges first.
Hinges are nicely recessed into the door.
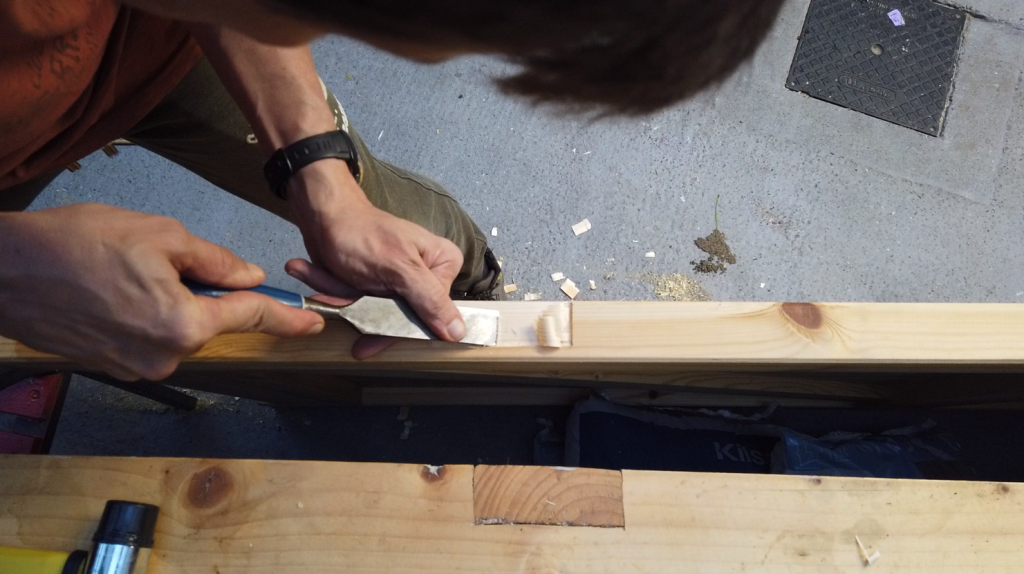
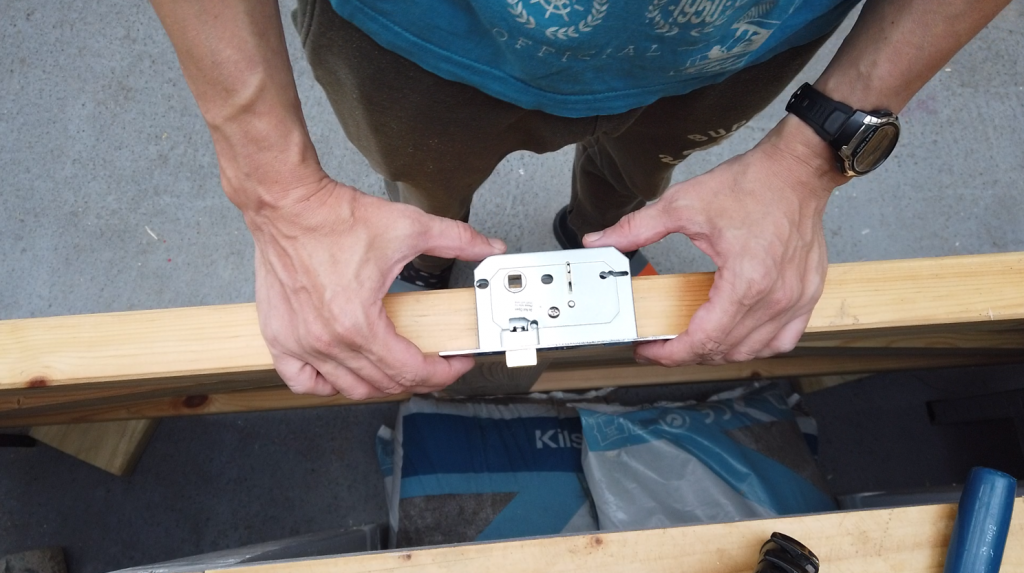
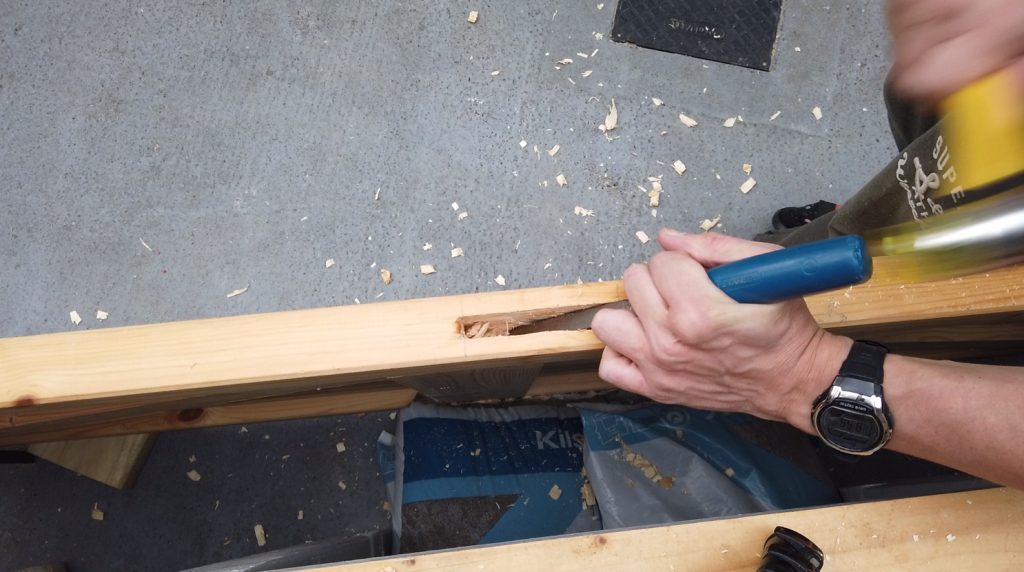
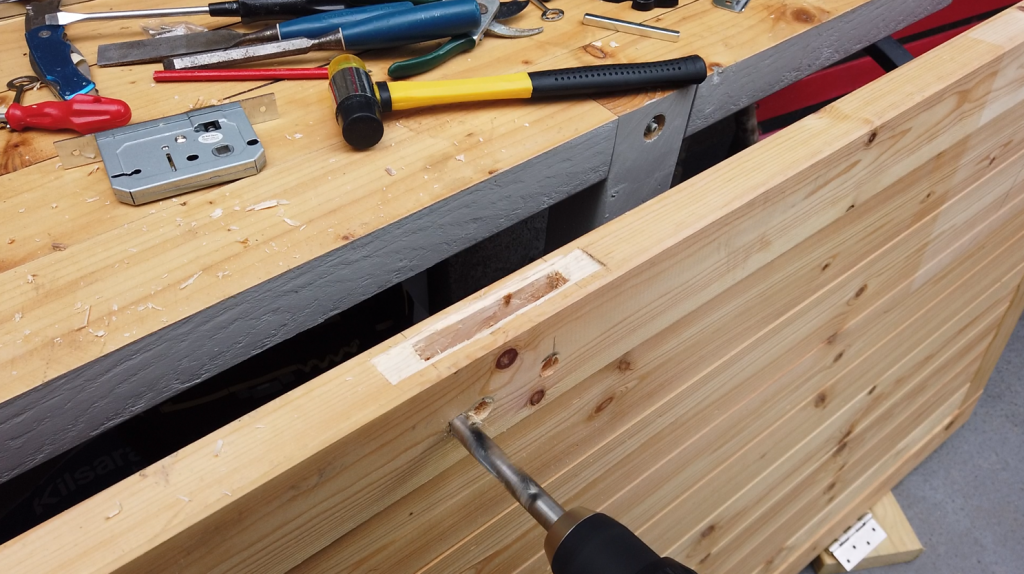
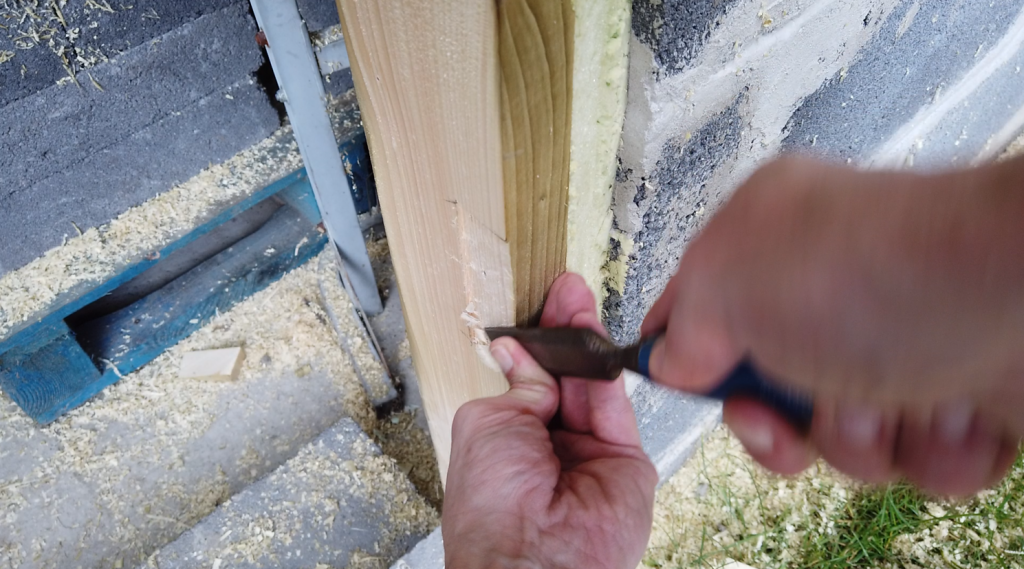
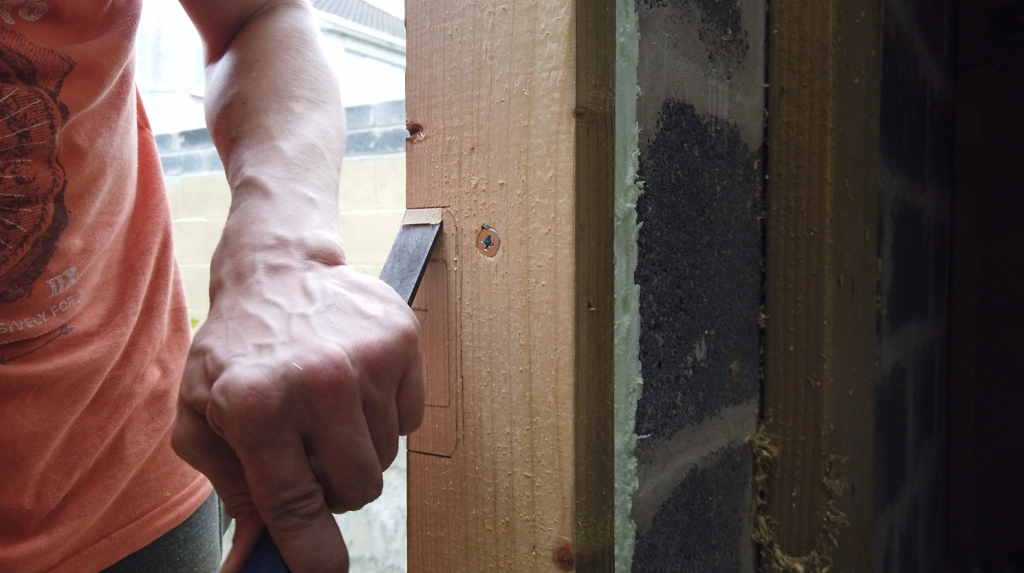
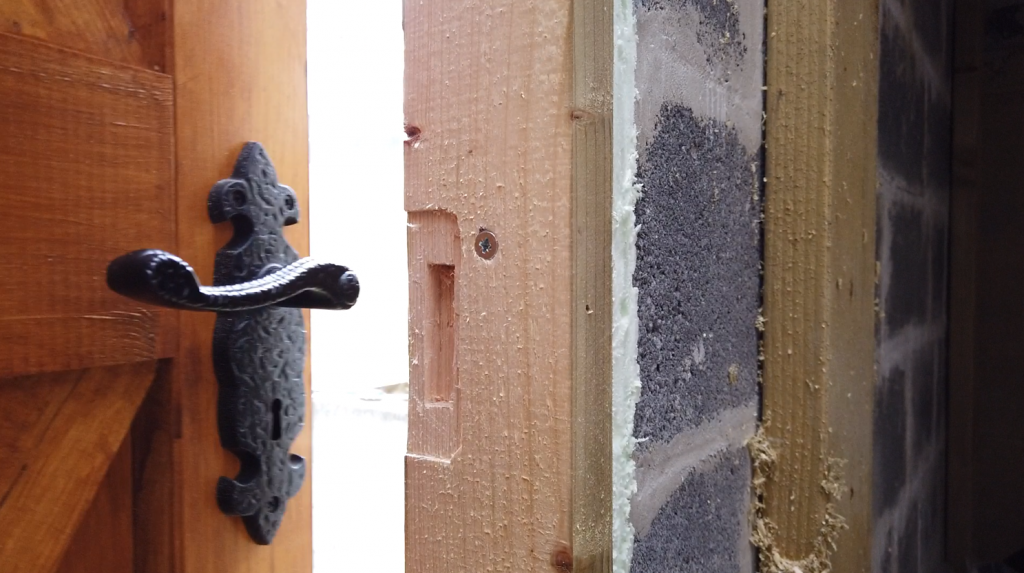
A deep mortice was required to house the lock.
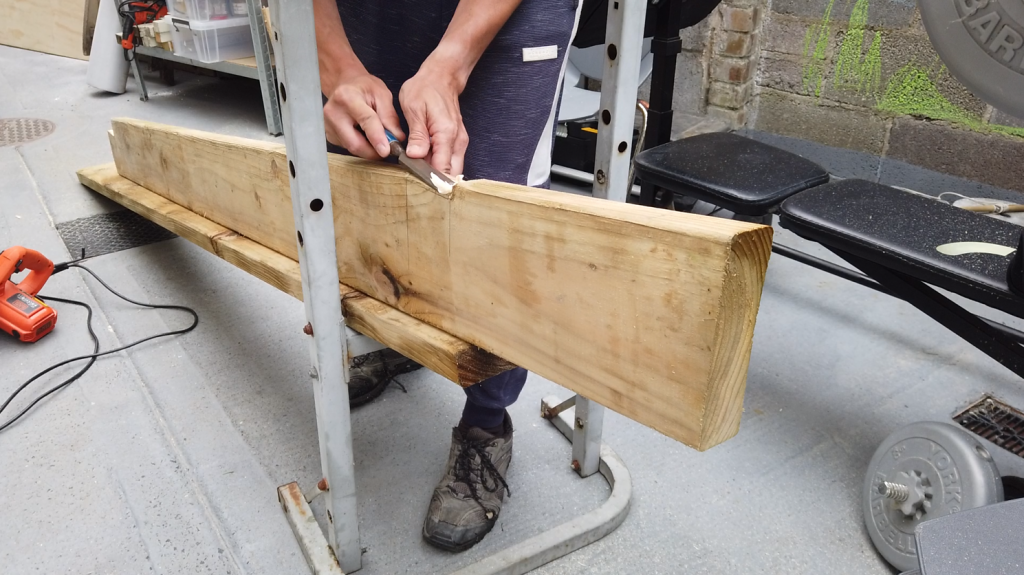
A thick mortice chisel would have been nice to have, but I had to do with a normal beveled-edge chisel instead. Not a problem in this case since the mortice itself wasn’t going to be visible and it isn’t a joinery mortice, either. With a joinery mortice, the sides of the mortice need to be smooth and square to allow for a tight glue joint with another piece of wood with a tenon. This isn’t the case here, so there is enough space for less than perfect long-grain sides of the mortice.
Test of the lock function before moving on to staining the door.
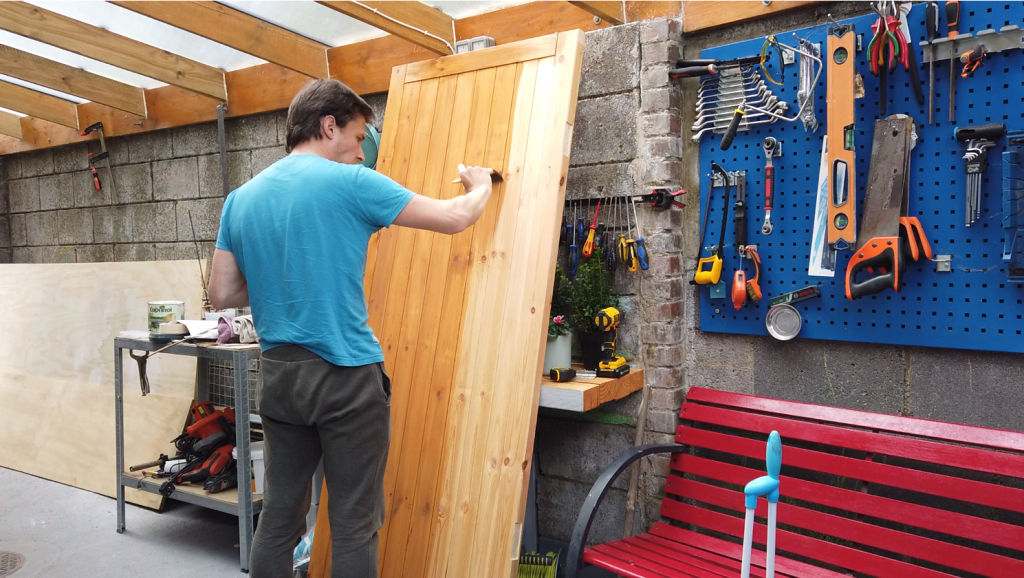
Several layers of stain go on.
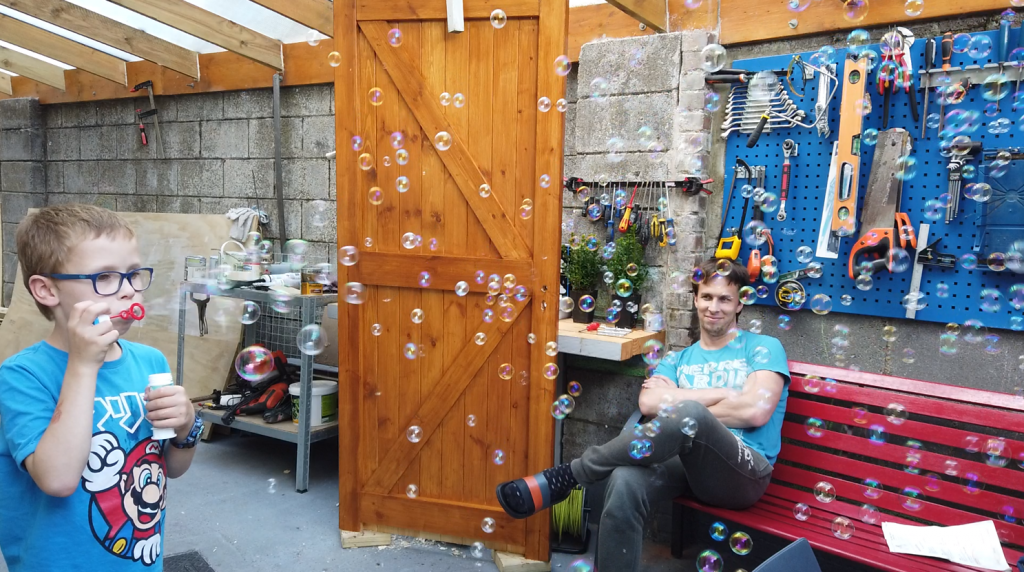
Bubbles were blown all over the workplace to keep the worker’s mood up.
Long screws were used to make sure that the door frame will go nowhere.
With the door frame firmly in position, a test fit of the door takes place, revealing the gross PU foam-related mistake.
The sides of the door frame had to be power-planed quite a bit to make up for the width lost by the expansion of the PU foam that bowed the verticals inwards.
Once the door was persuaded to fit in again, it was time to recess the hinges to the door frame.
At last, the door closed properly and with very little gaps.
The door did not lock yet, though, so that had to improve.
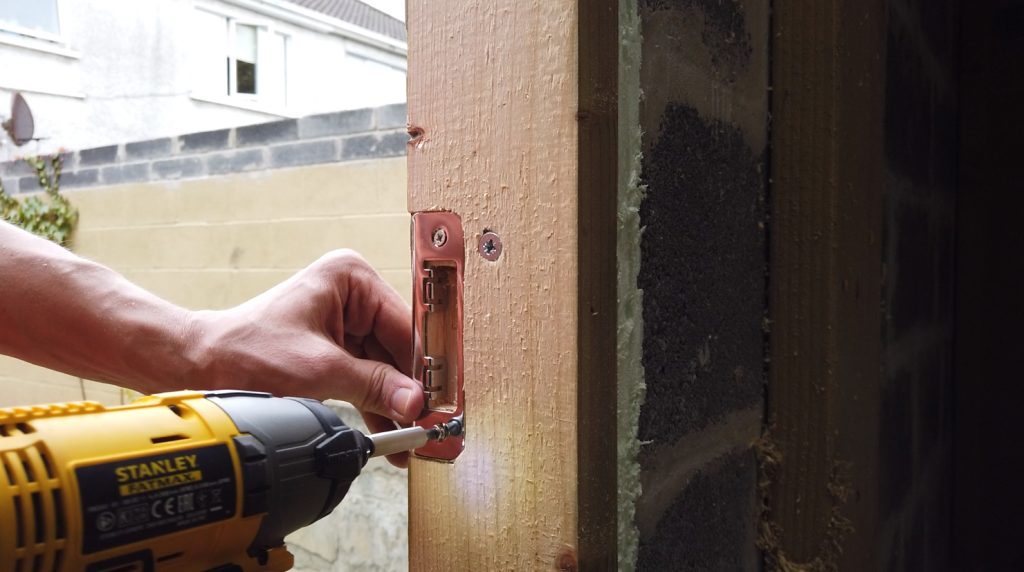
The recess for the strike plate was in place and the strike plate could be fitted and fine-tuned next.
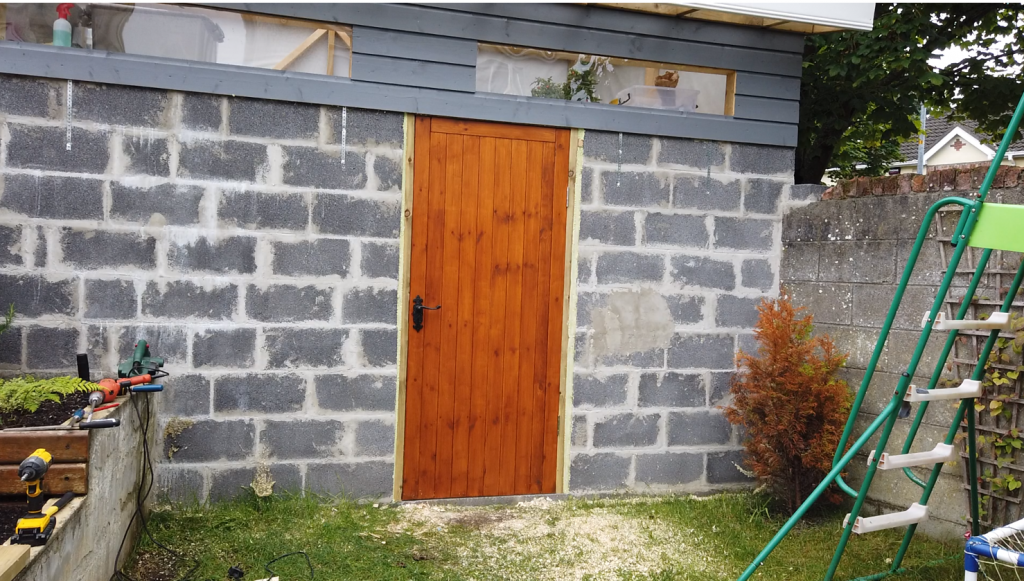
It felt good to be able to leave the shed locked and rain-proof for the night, for the first time in such a long time.

